• Welcome to the new B.I.R.D. Forum. Please be sure to read the "New Member / New Registered ? Please Read" thread in the Coffee Shop. This contains some important information. To become a full member ( £5.90 a year ) simply click on your user name near the top on the right I hope you enjoy the new site ................ Jaws ( John )

Buell based Custom - Sophie Lancaster Tribute

Anyone interested?

I always said I'd build another, simpler, bike at some point. Something more down to earth and usable than the last one. I didn't plan on it being quite so soon, as I've got quite a few other projects on the go as it is. But, life's for living and all that.

So when having a chat with my mate Briz one day turned to talking about projects it was almost inevitable something would happen.

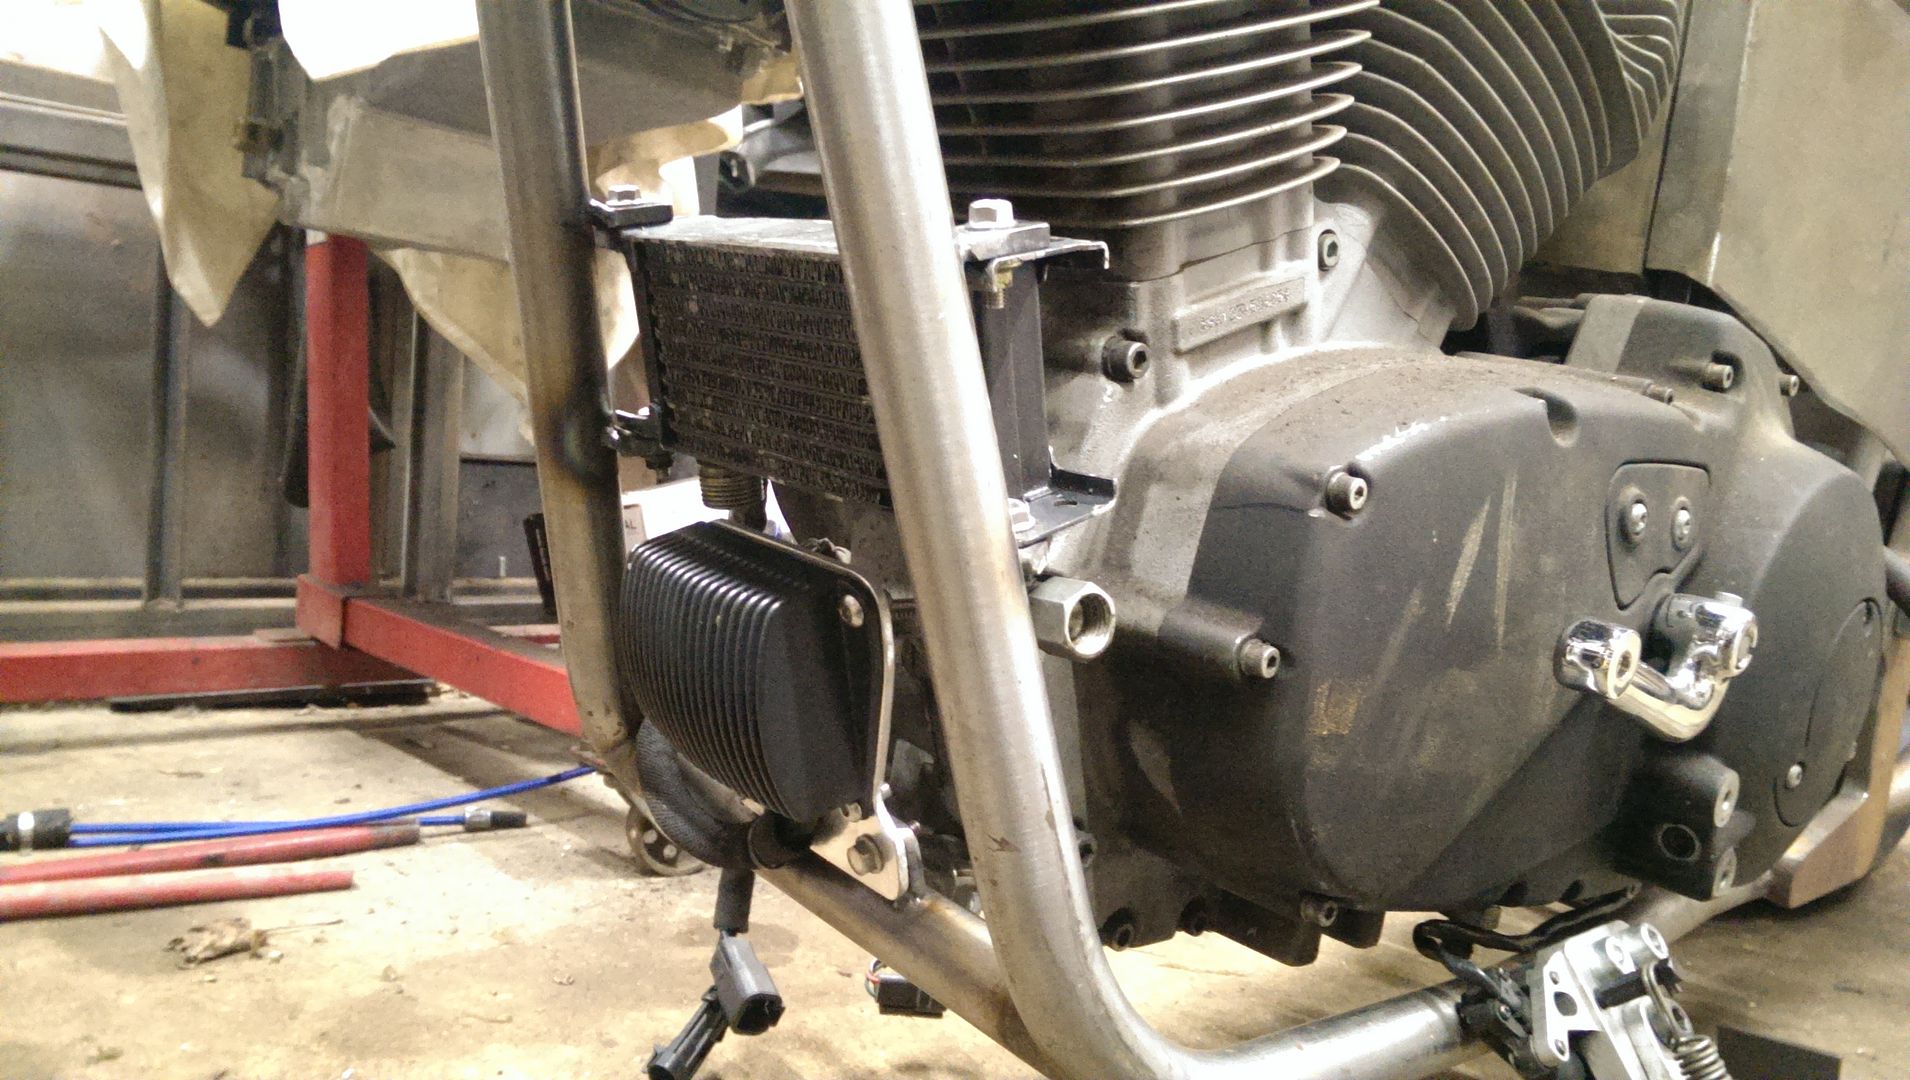
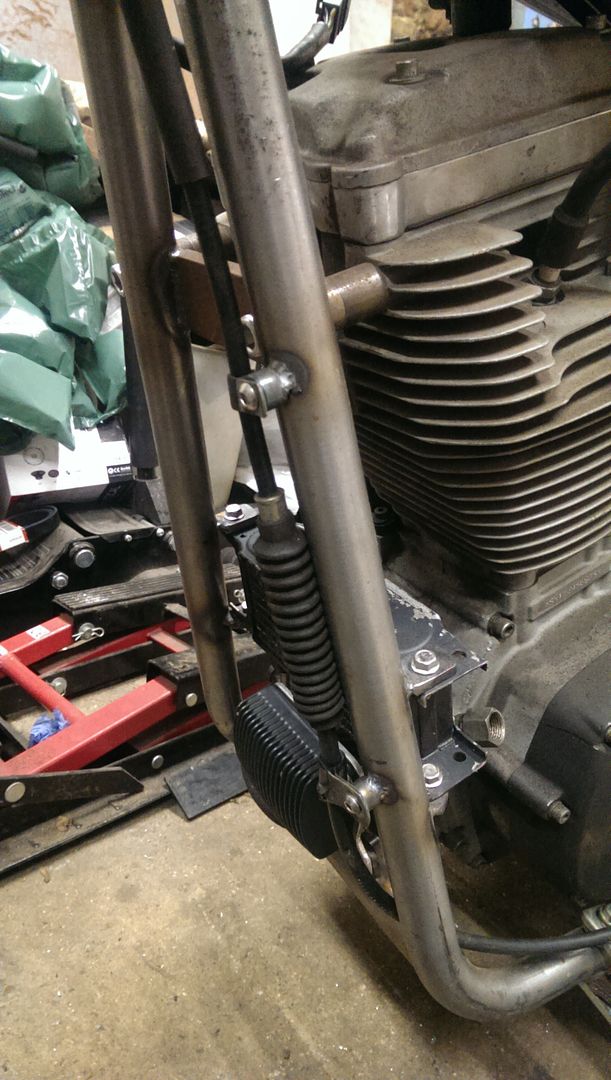
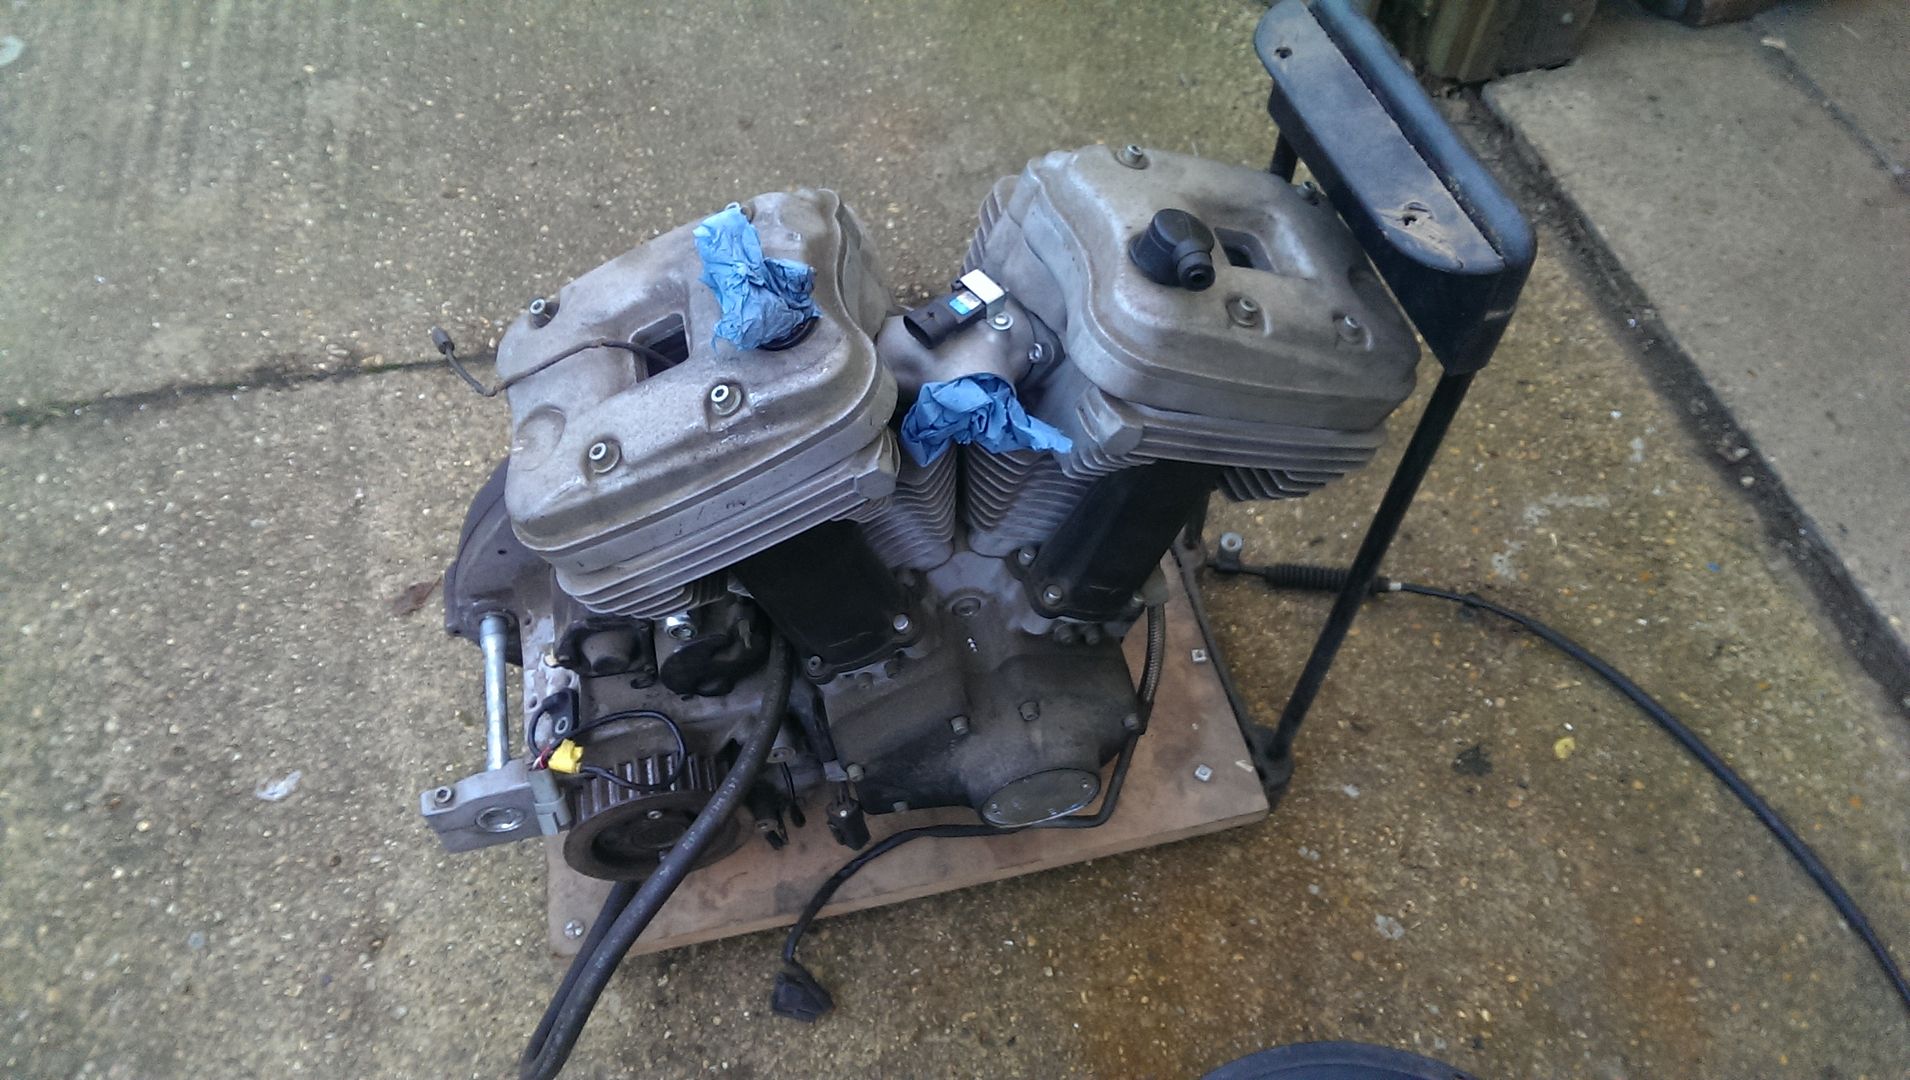
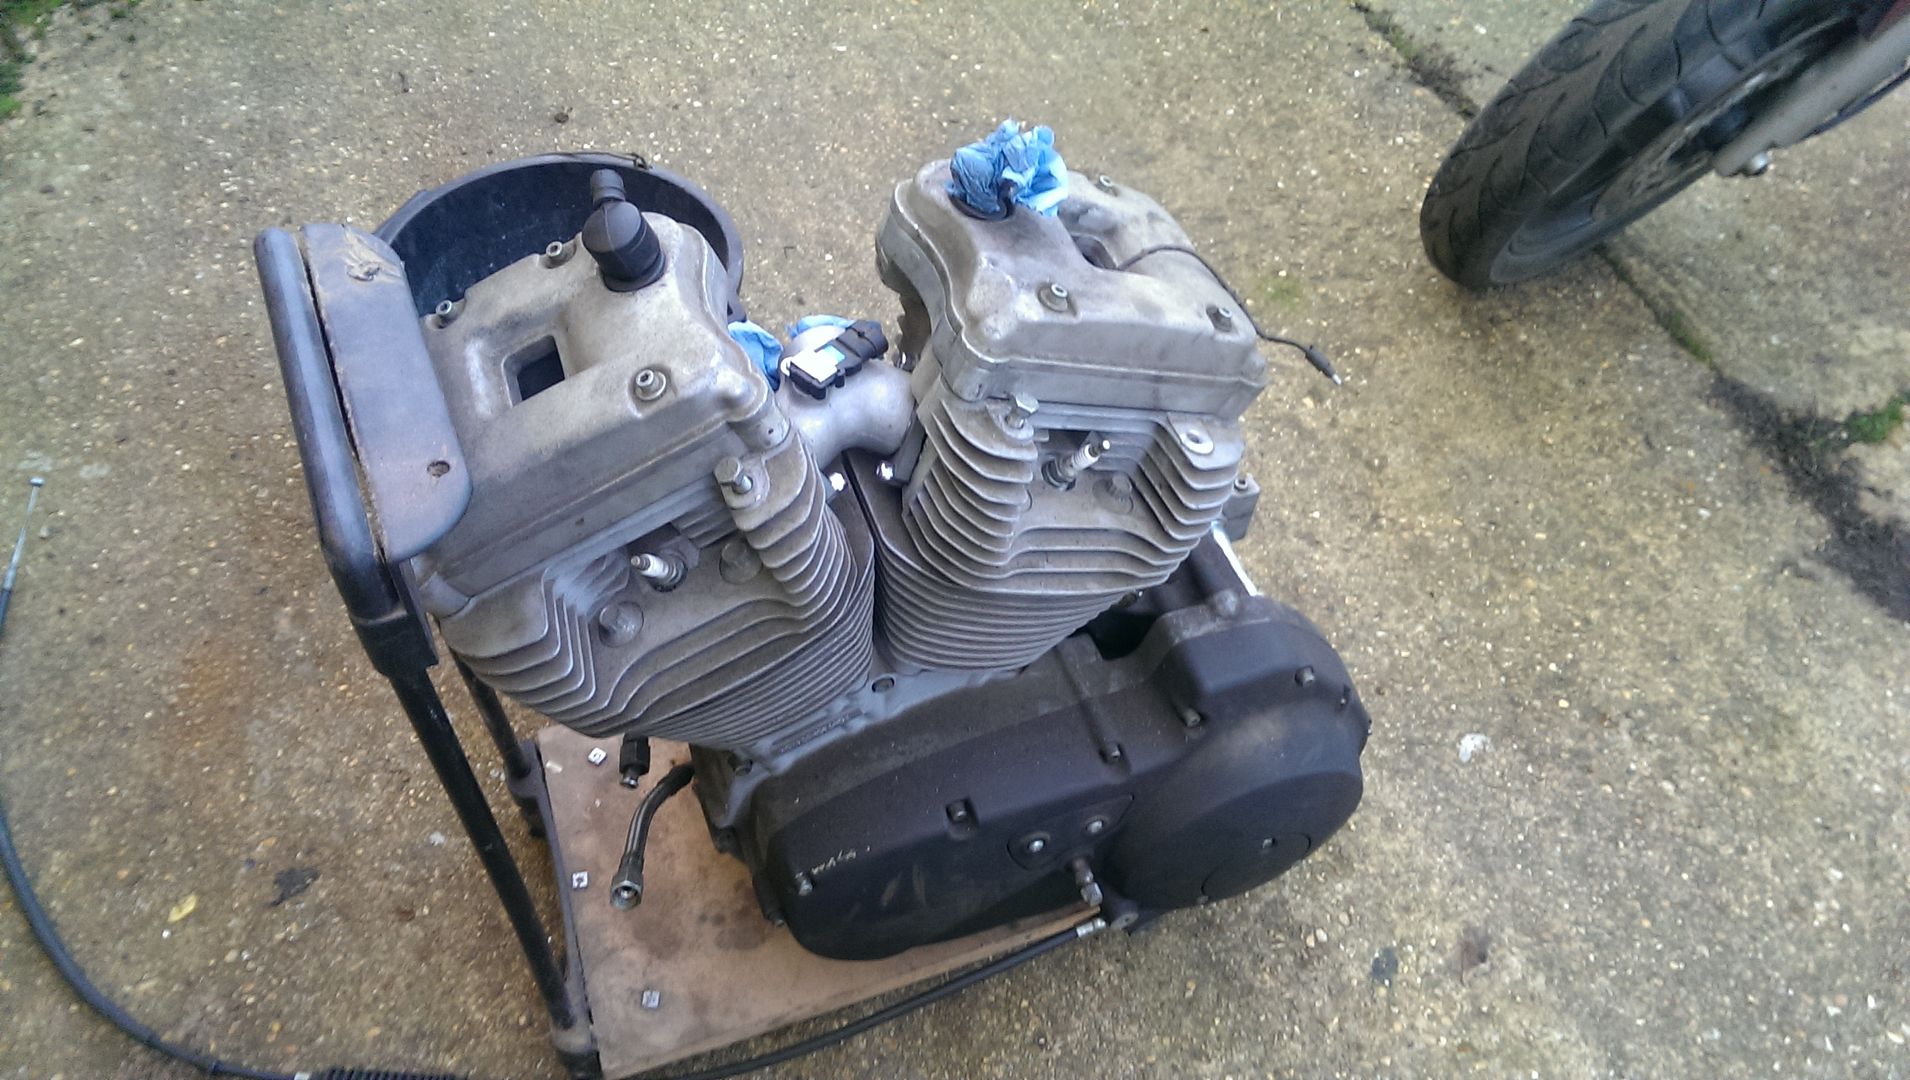
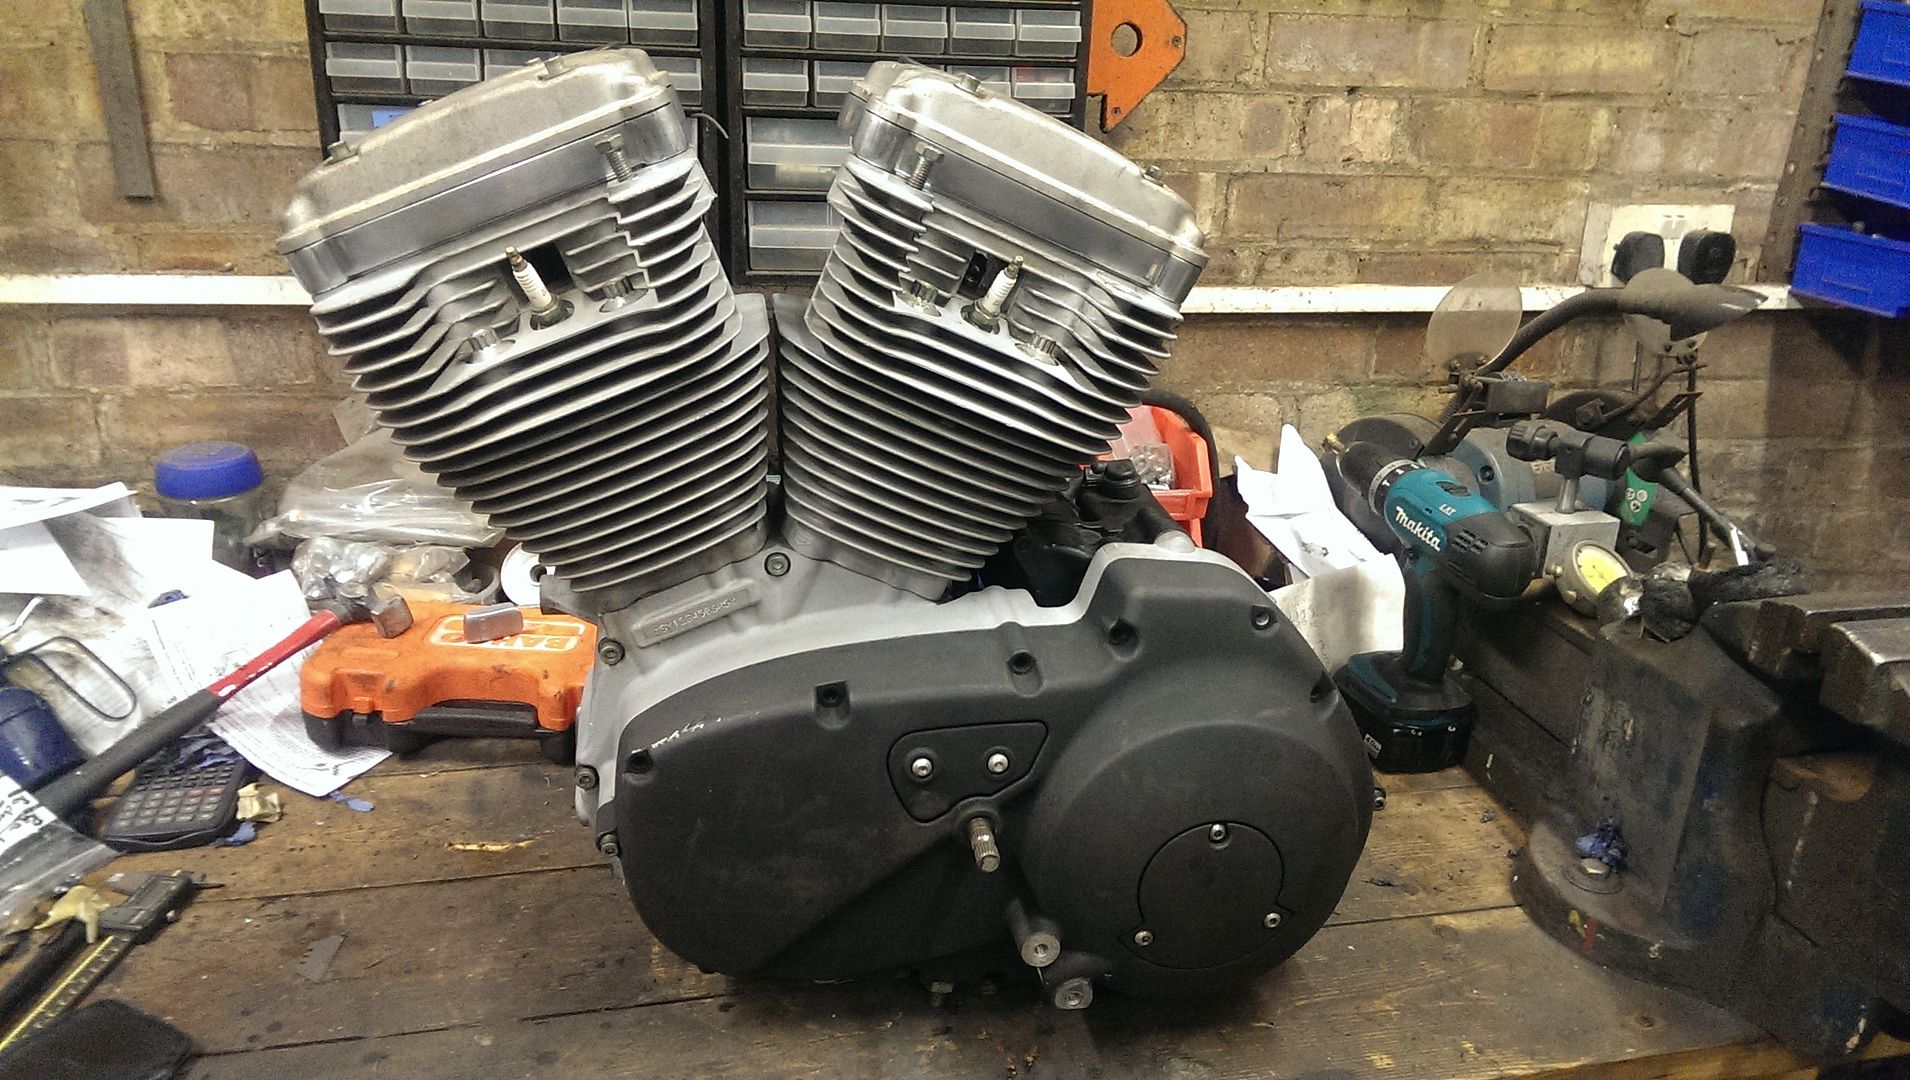
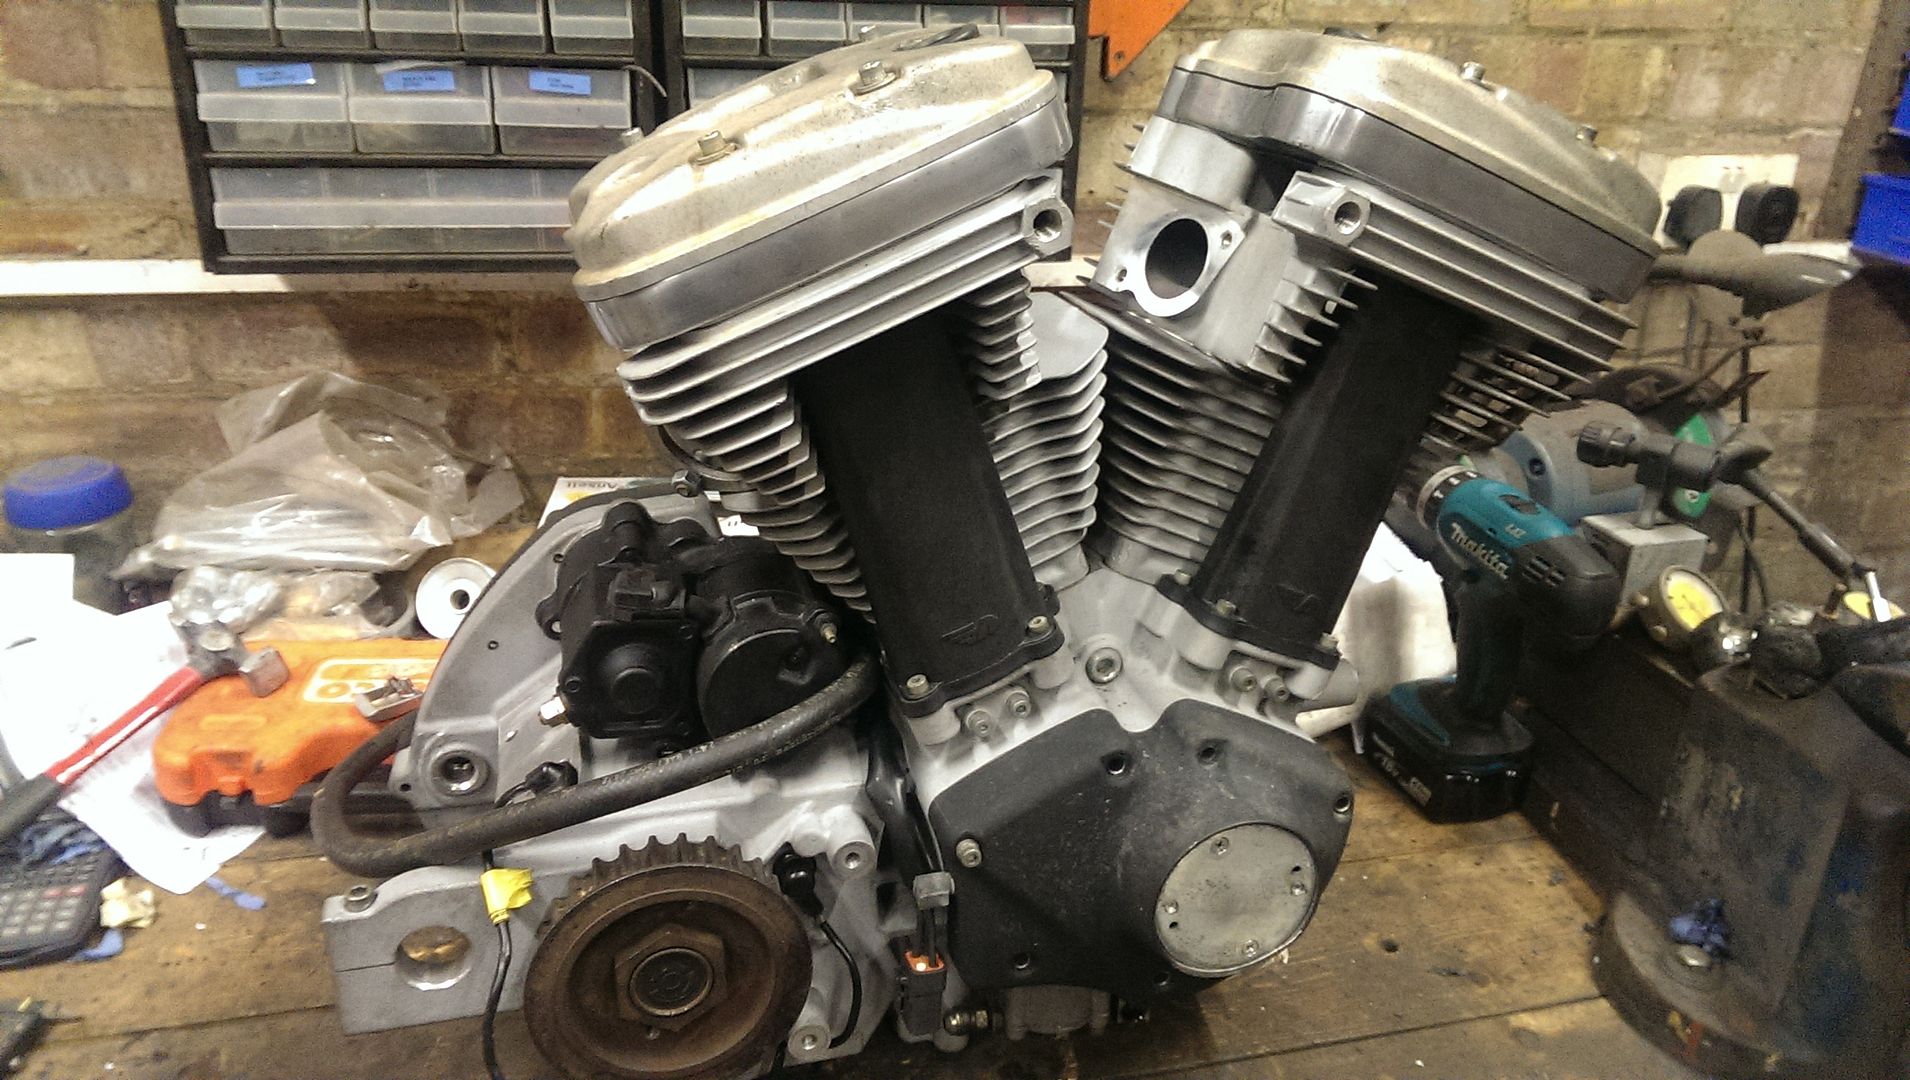
The Buell engine is from a 2003 XB9 and it was originally intended (back in 2012/13) to use it as the basis of the next Bonneville race bike with a supercharger fitted.

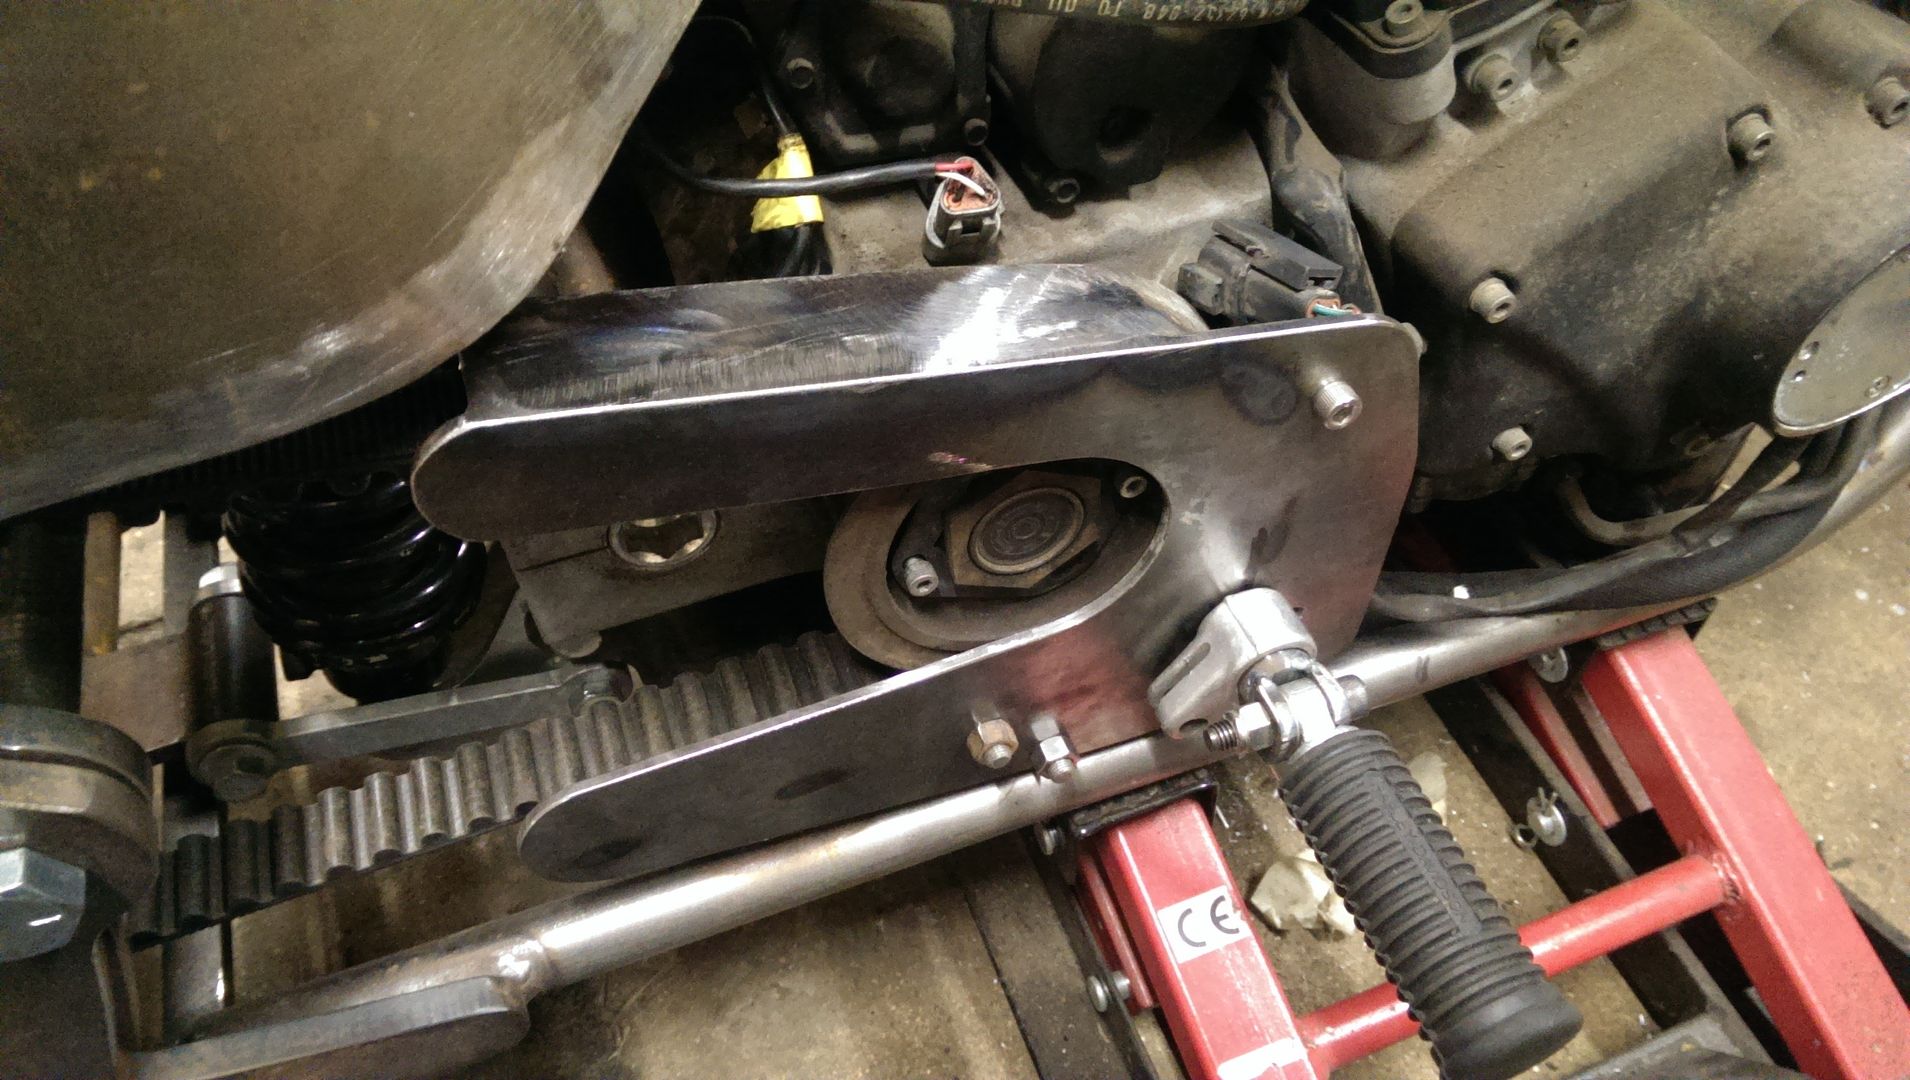
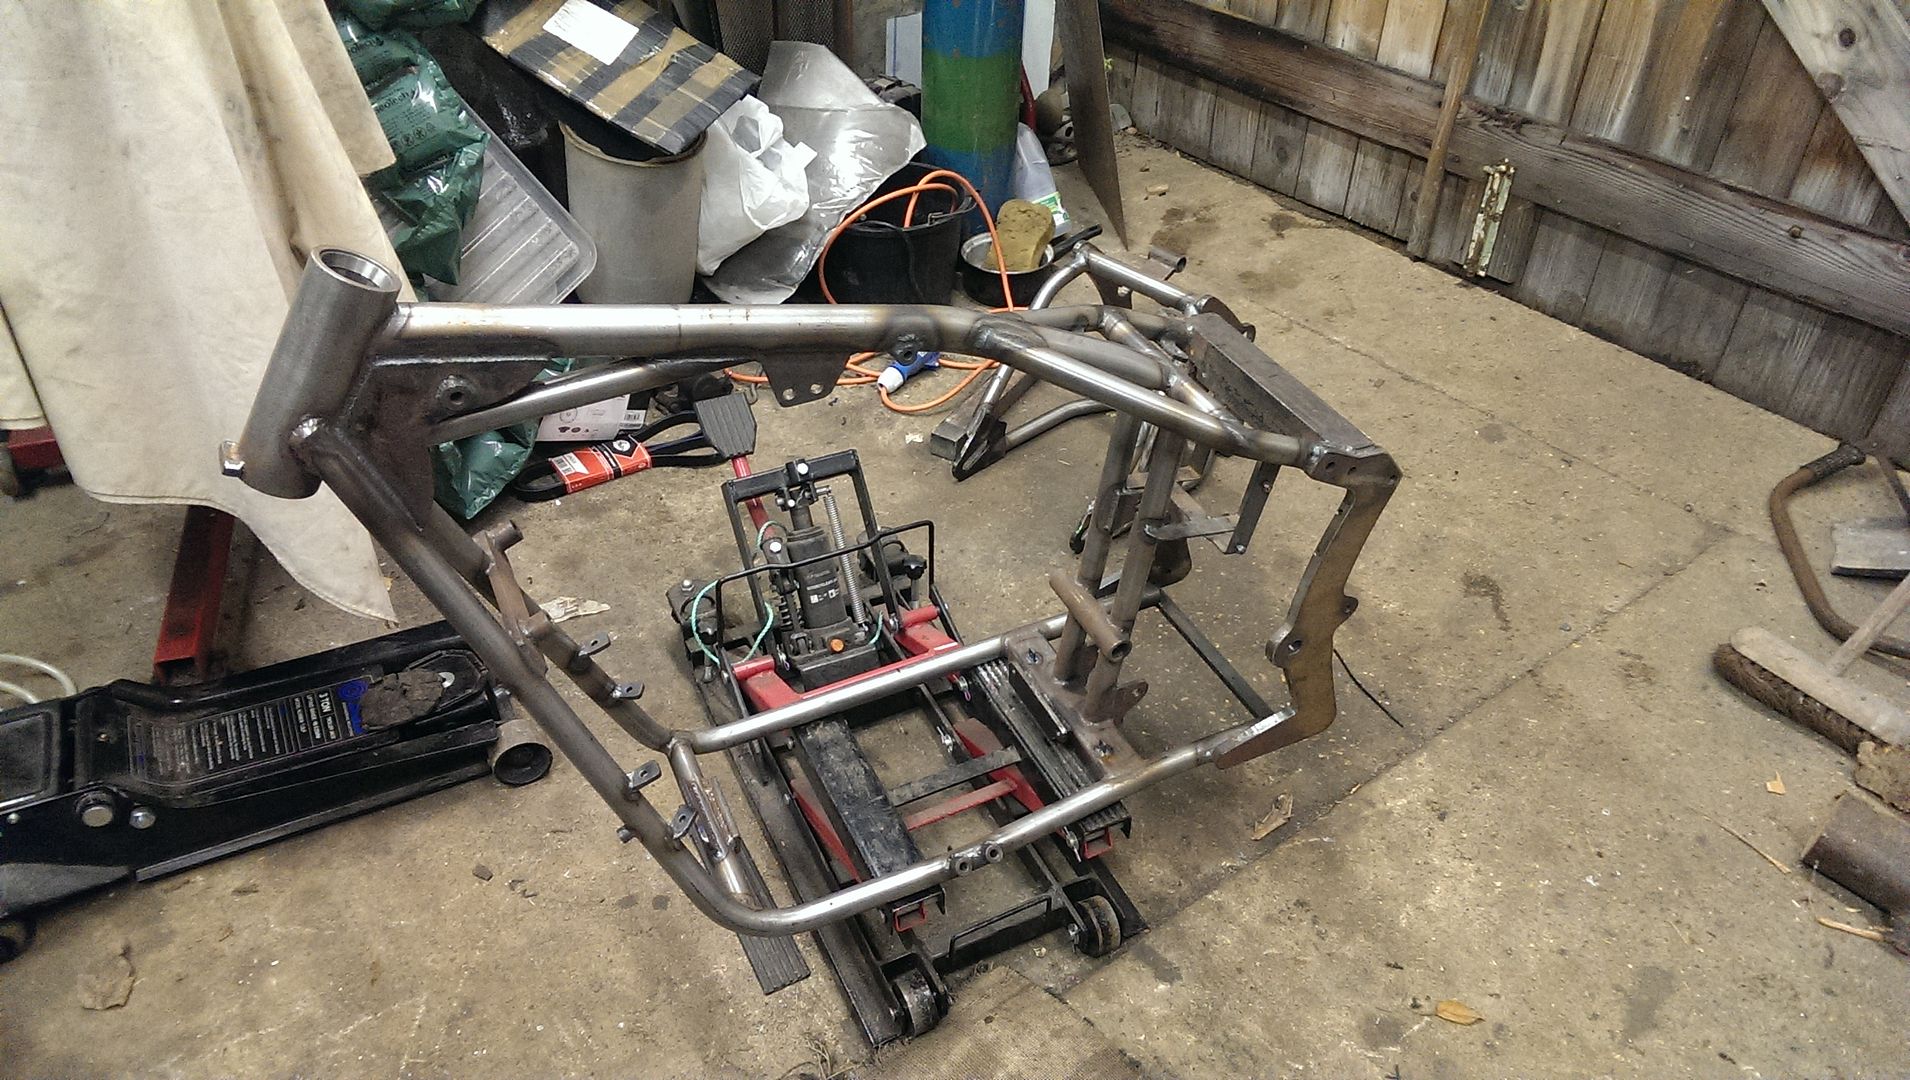
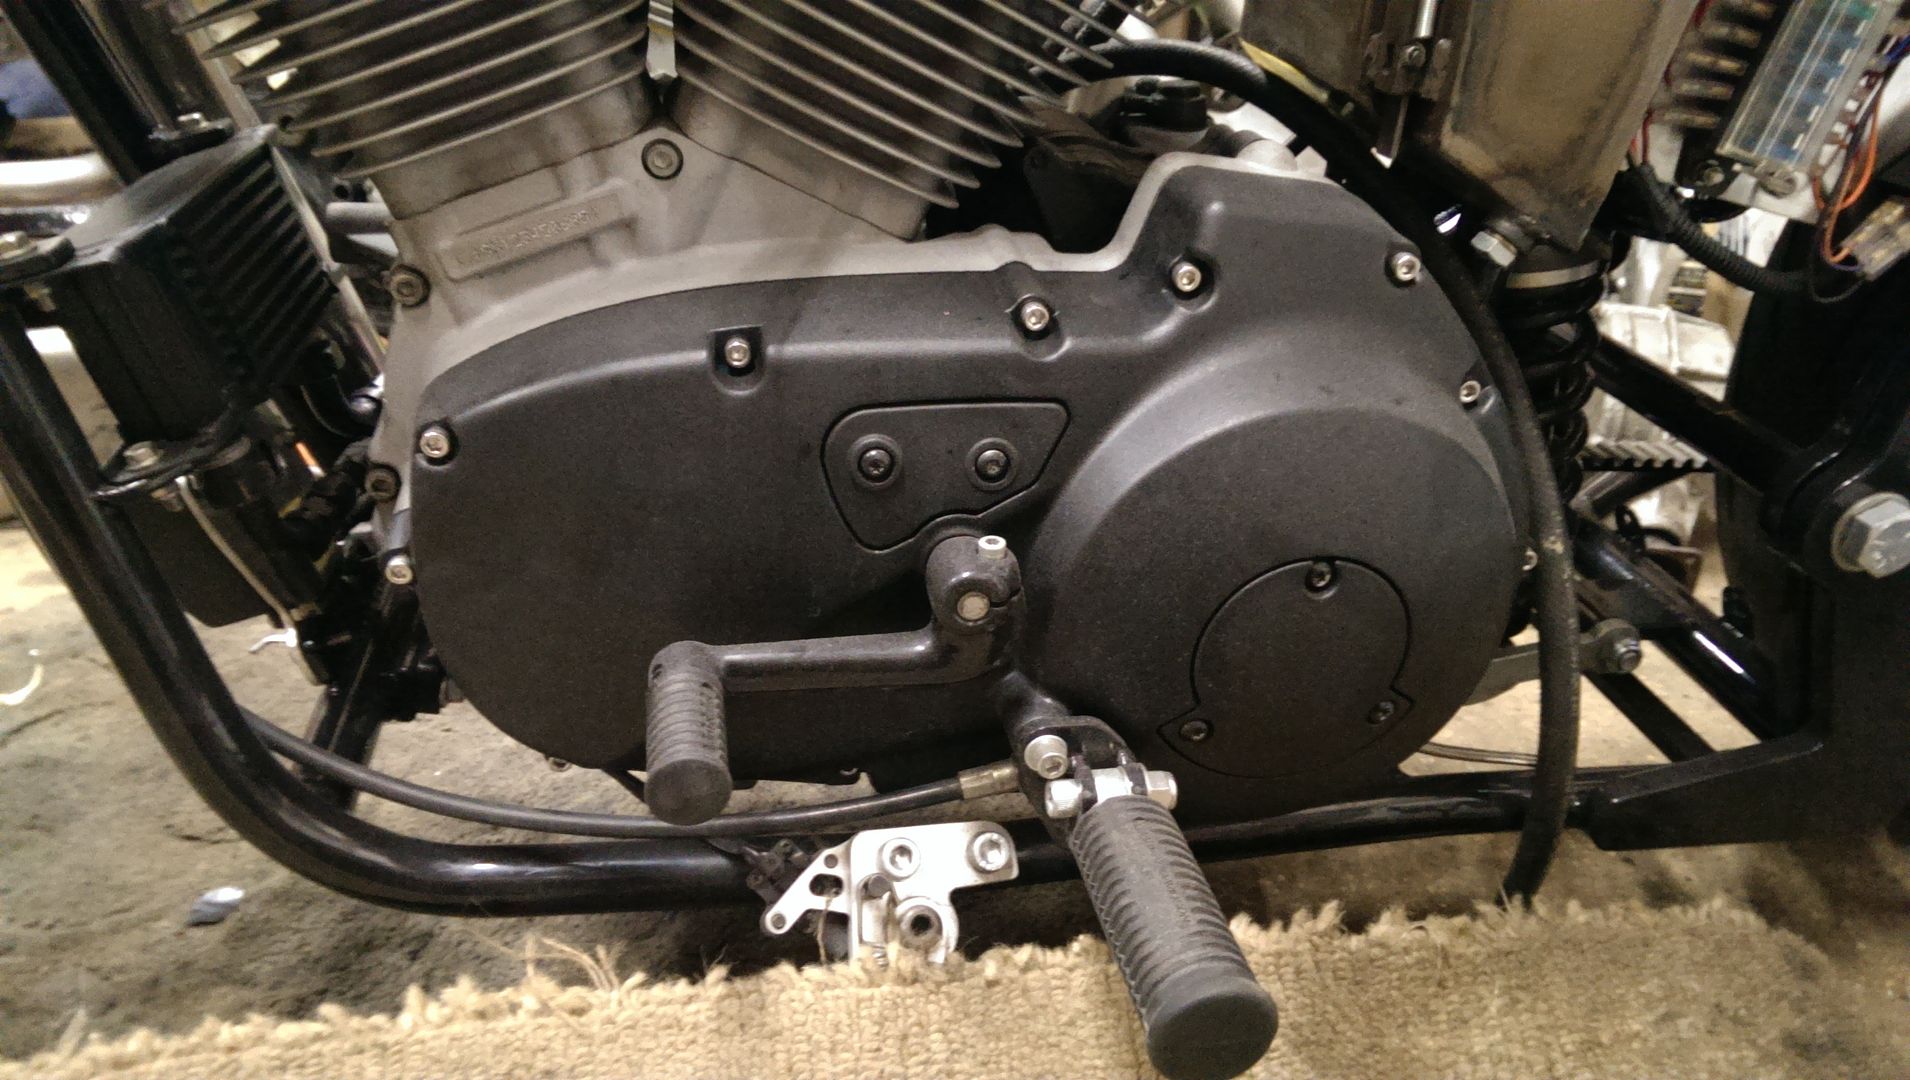
But that Buell engine sat there, just waiting for something to be done with it. Briz made a softail frame for it to complement the Sportster engined one he already offers, seemed like the sensible thing to do. The Buell engine shares a lot with the sportster, but it's actually also quite different in the way it mounts in the frame.

I like it, subtly different. To the untrained eye it's another sportster, but look a bit closer and there's a few Buell logos, giving away the fact this is a bit more potent than it's HD cousin...
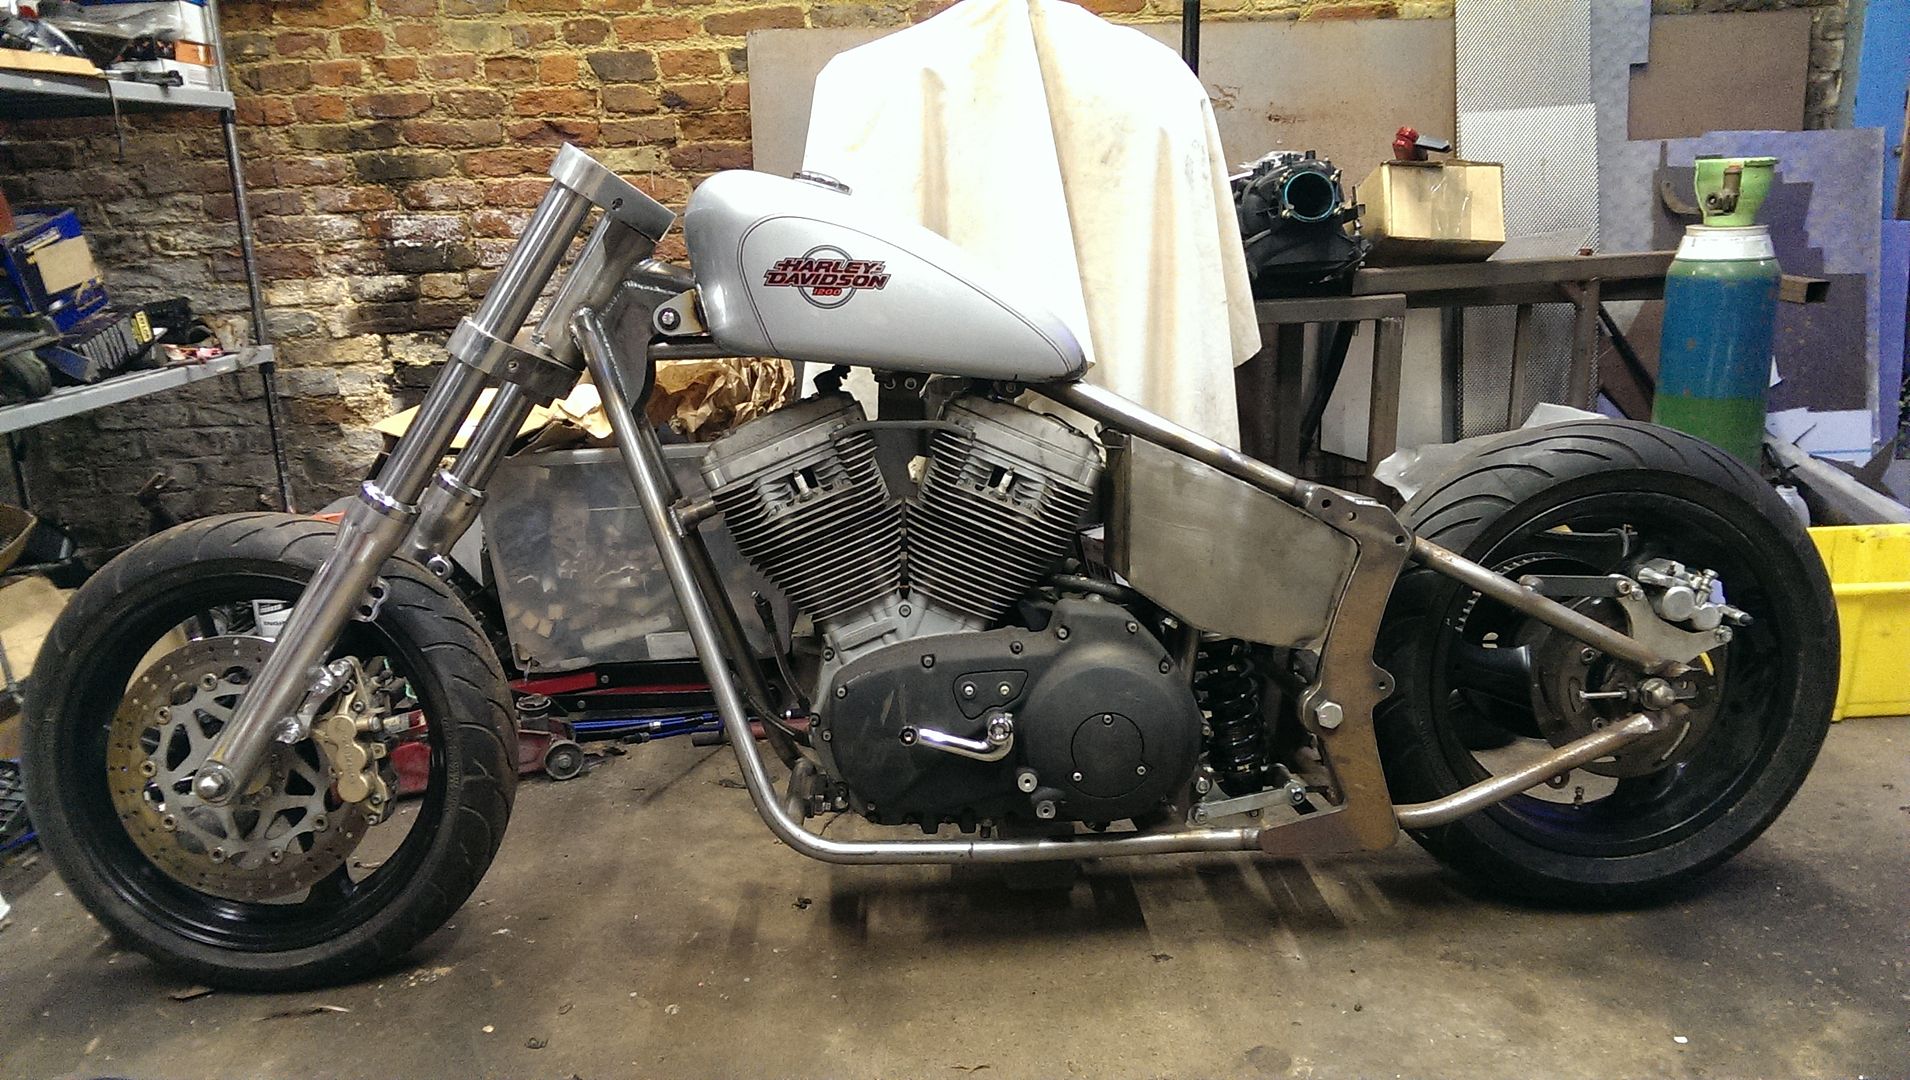
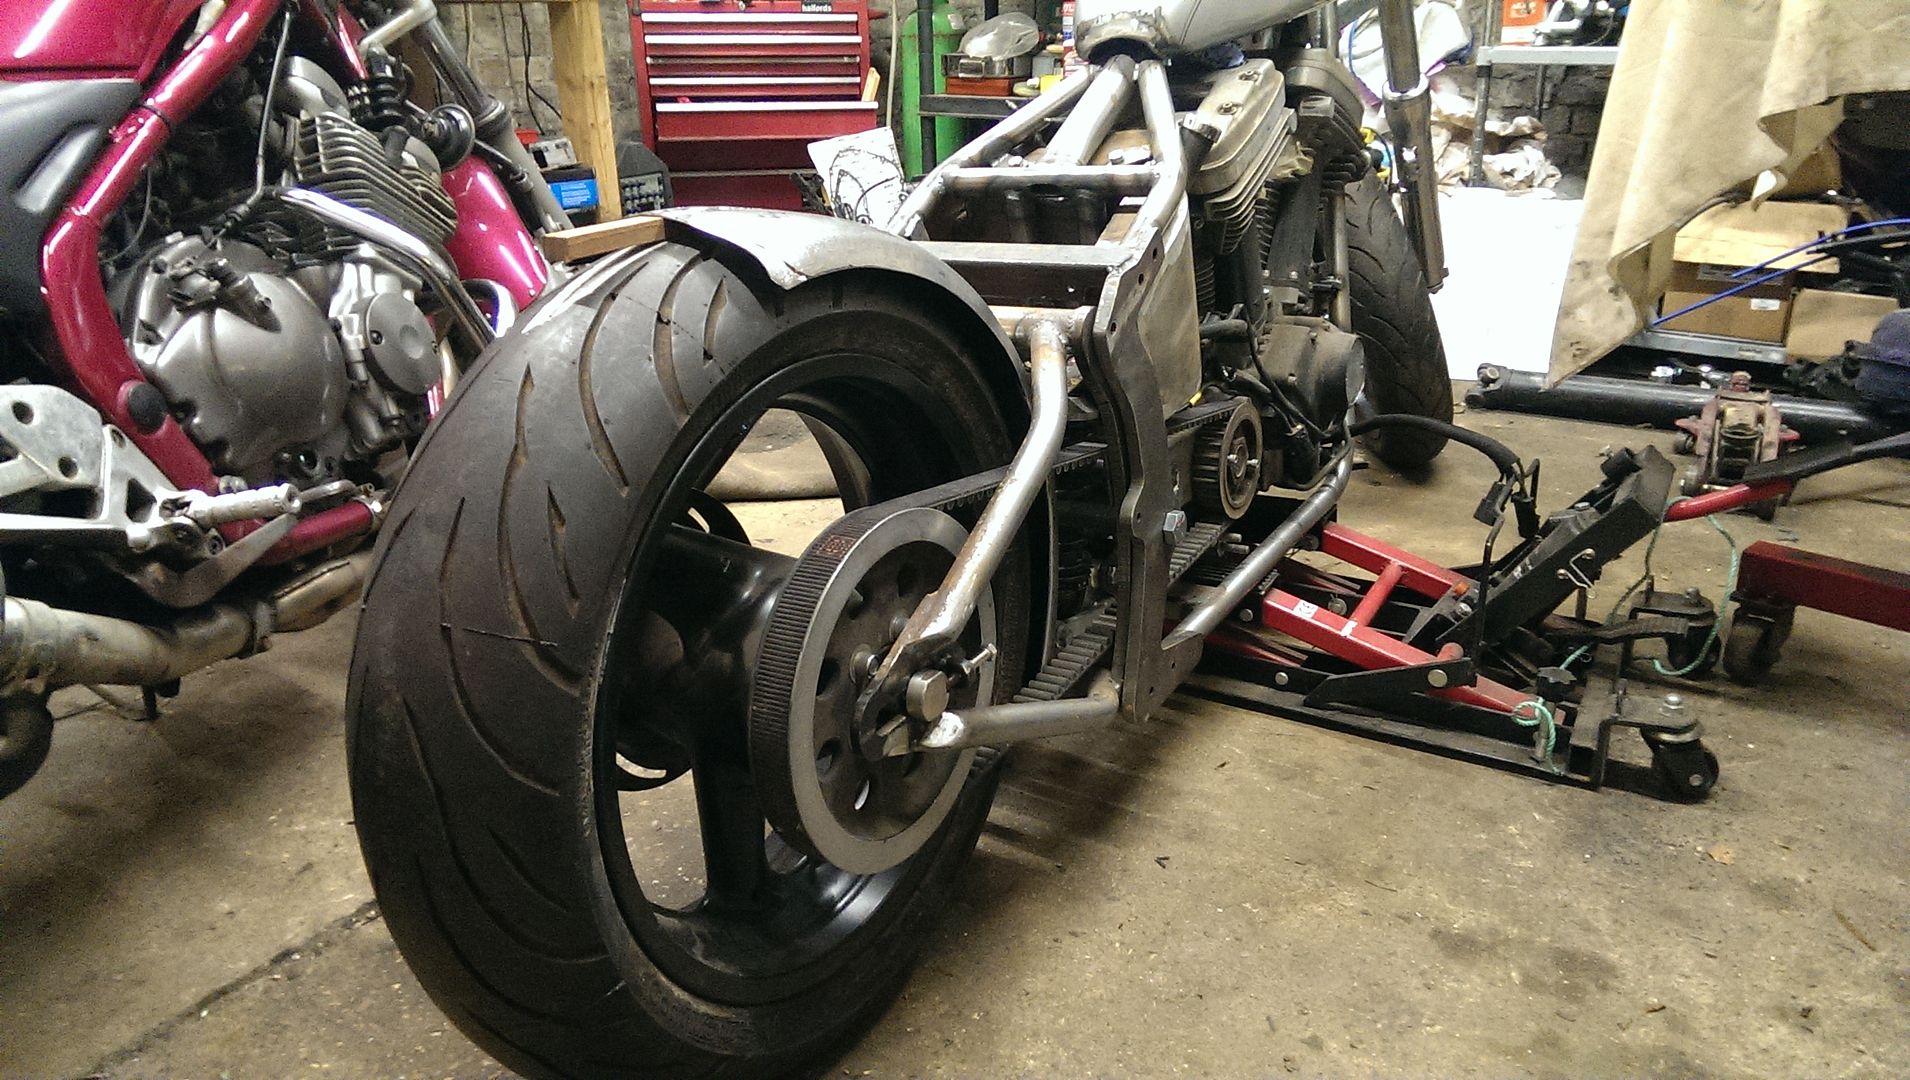
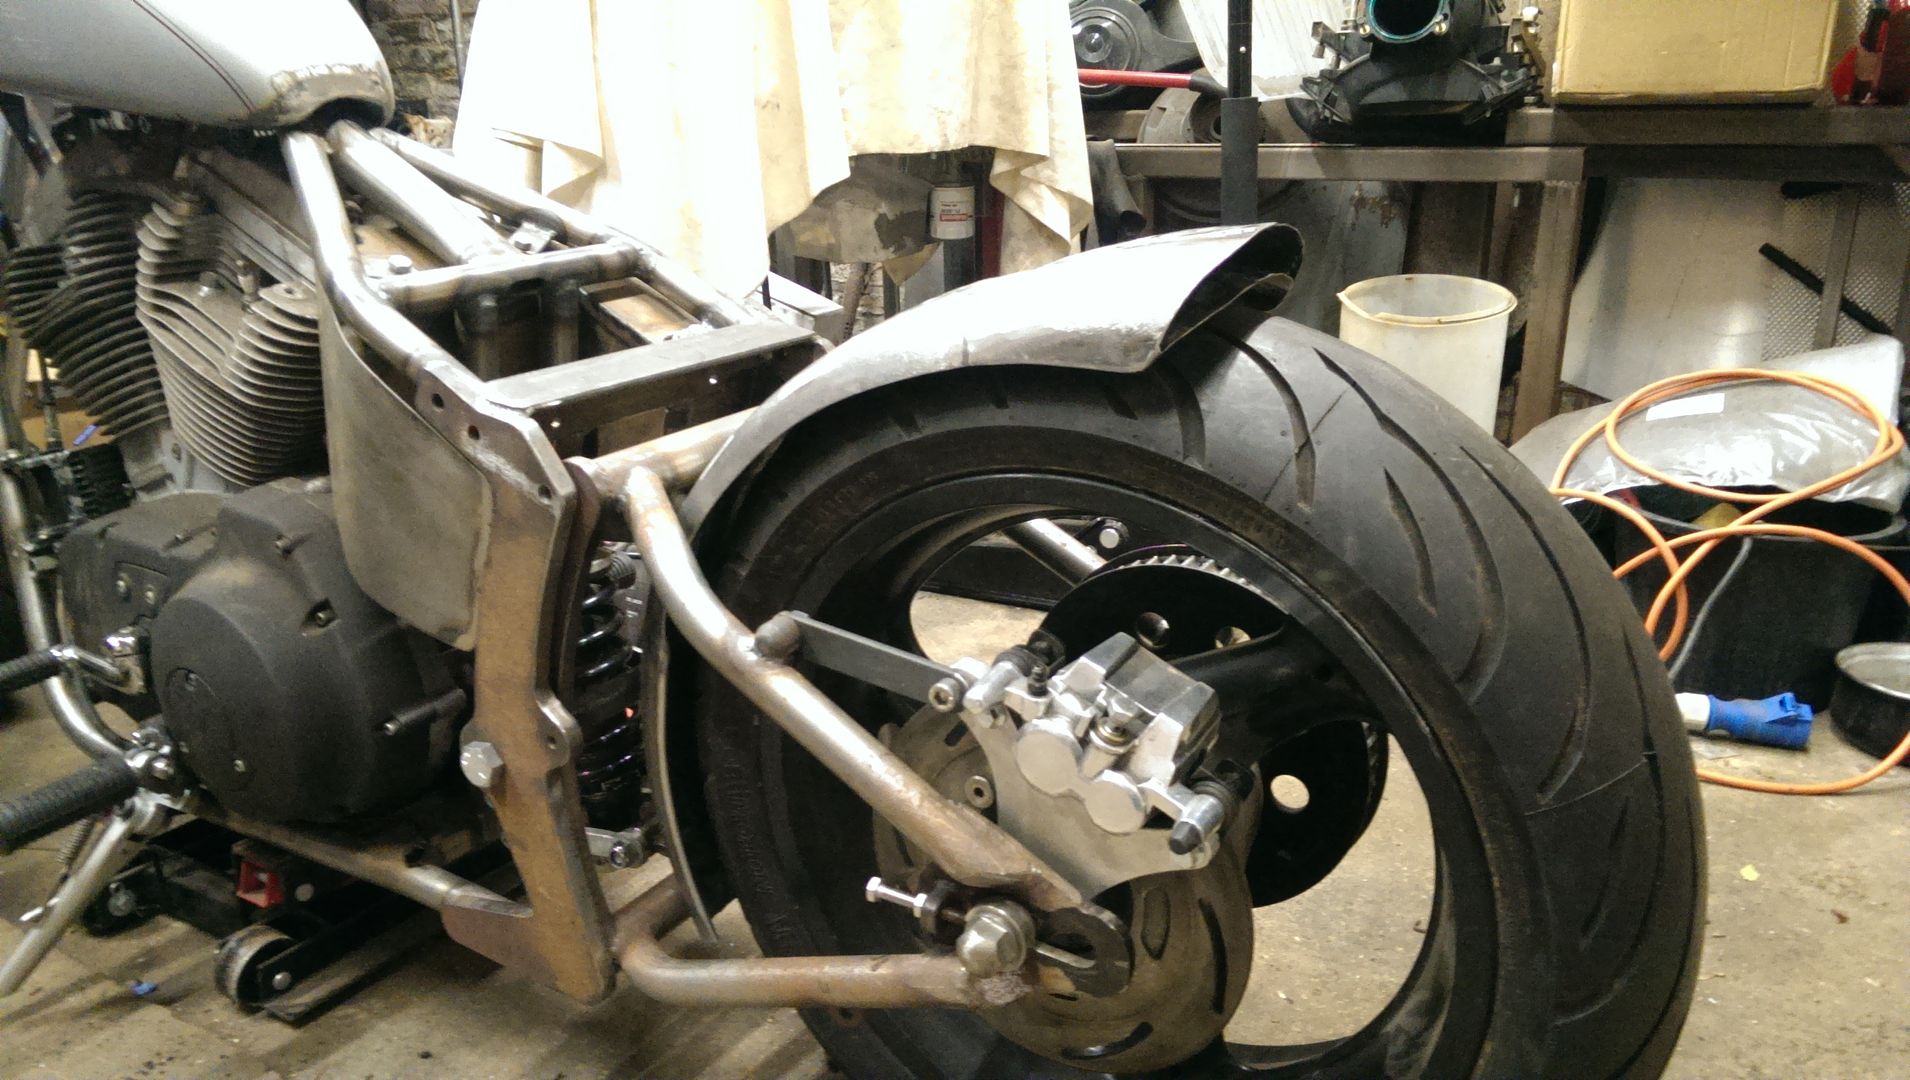
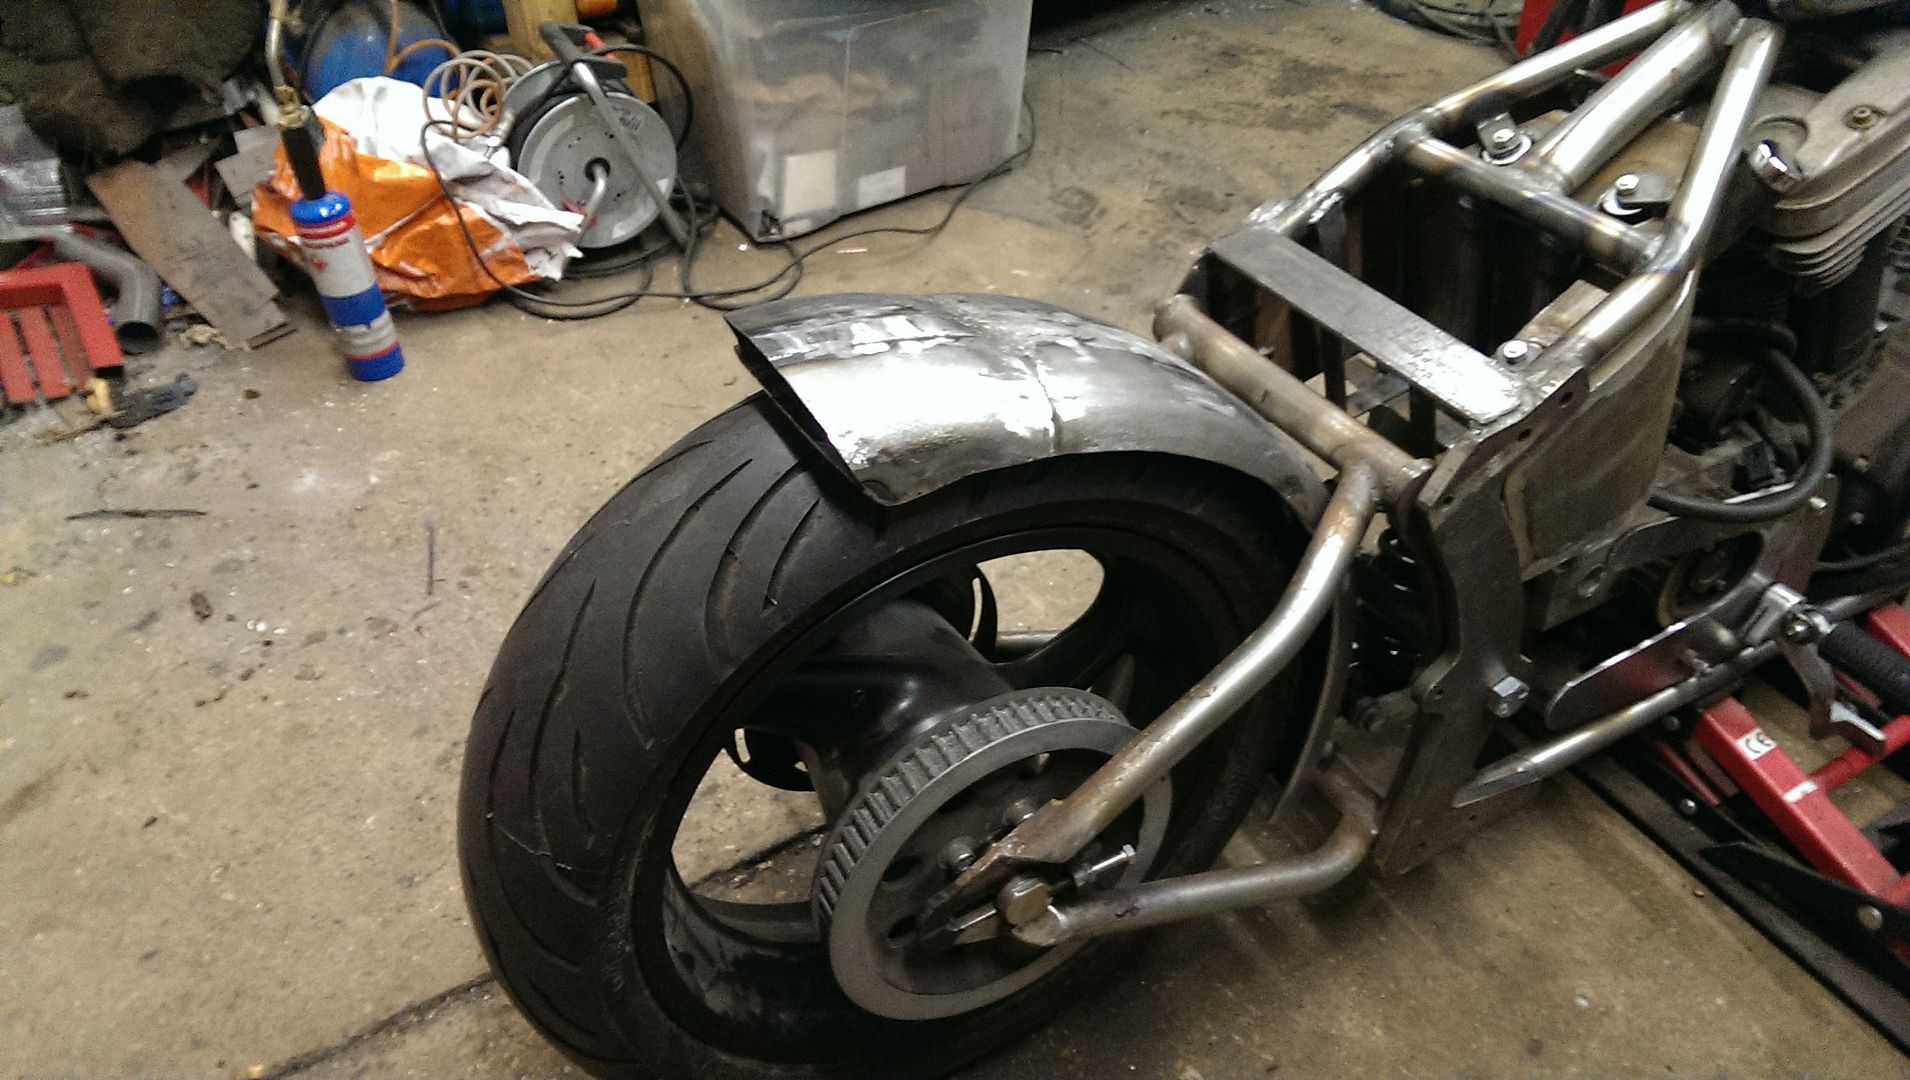
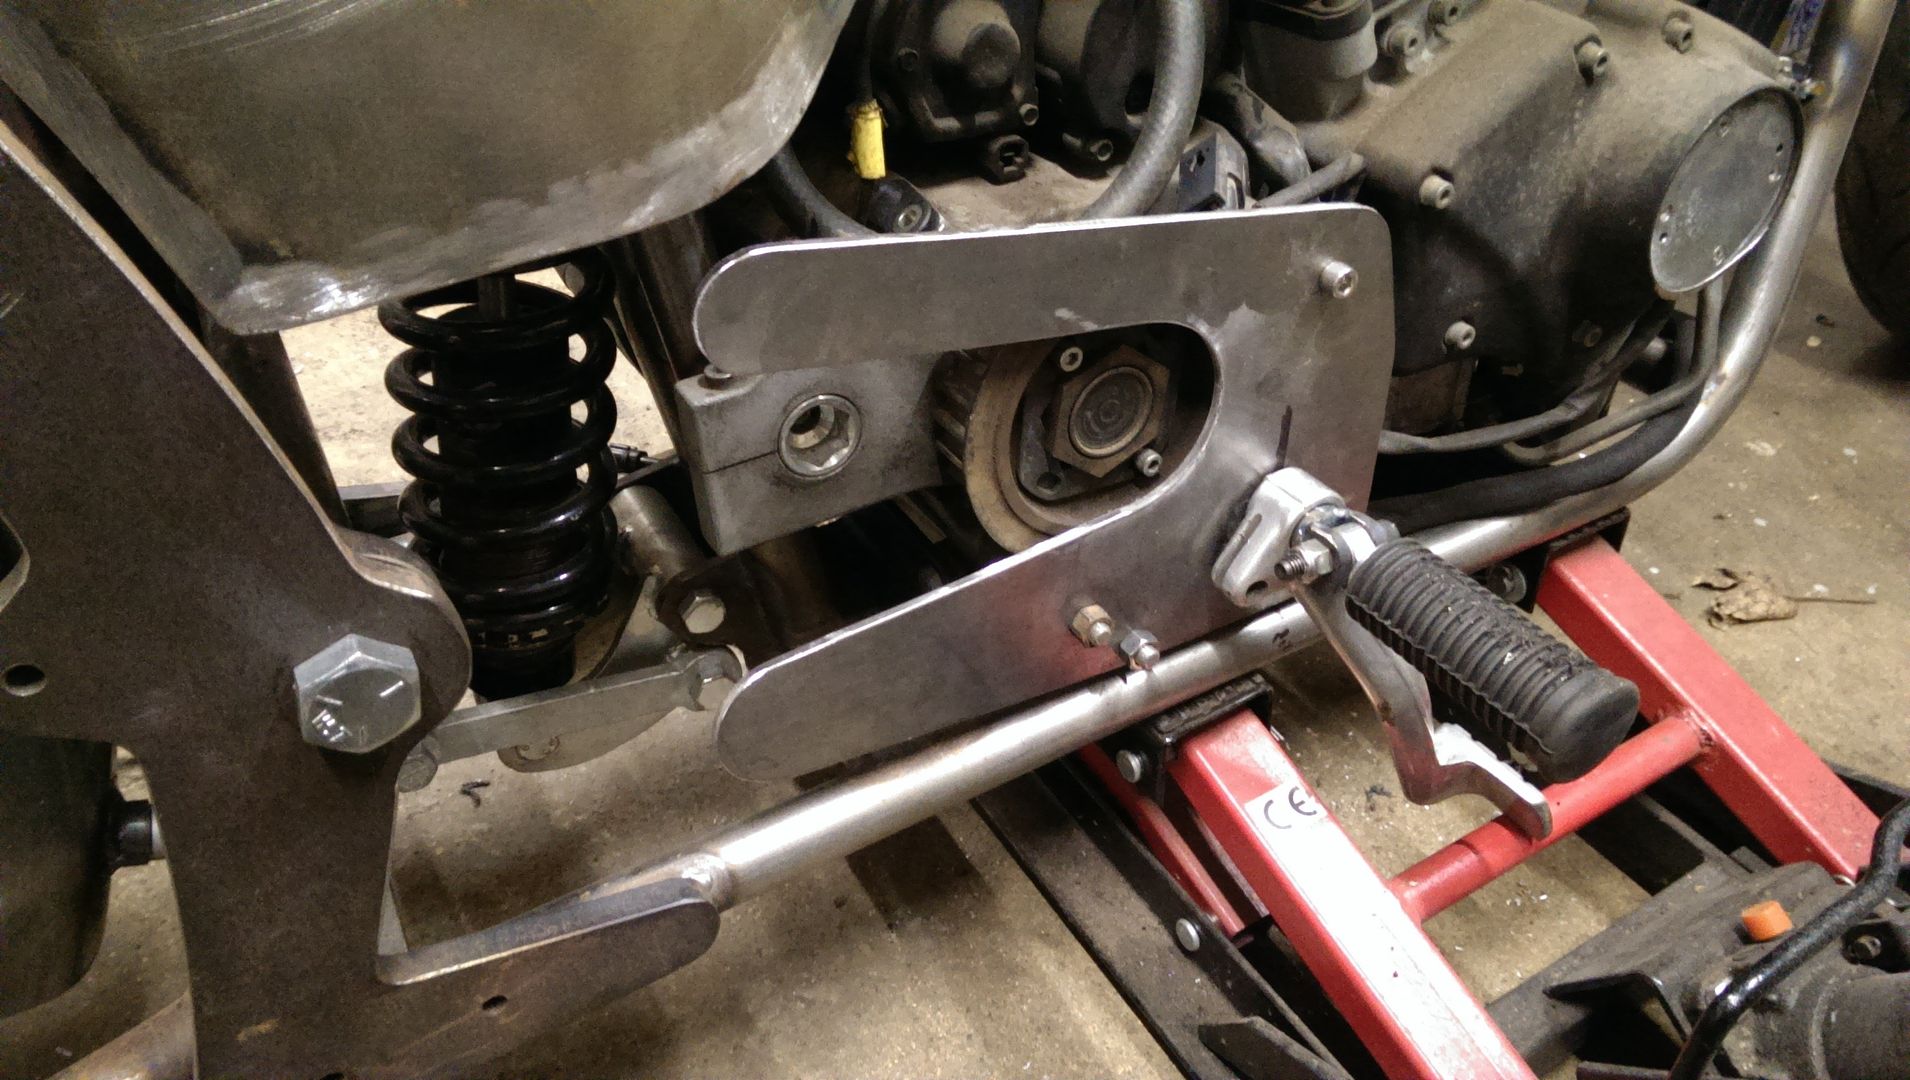
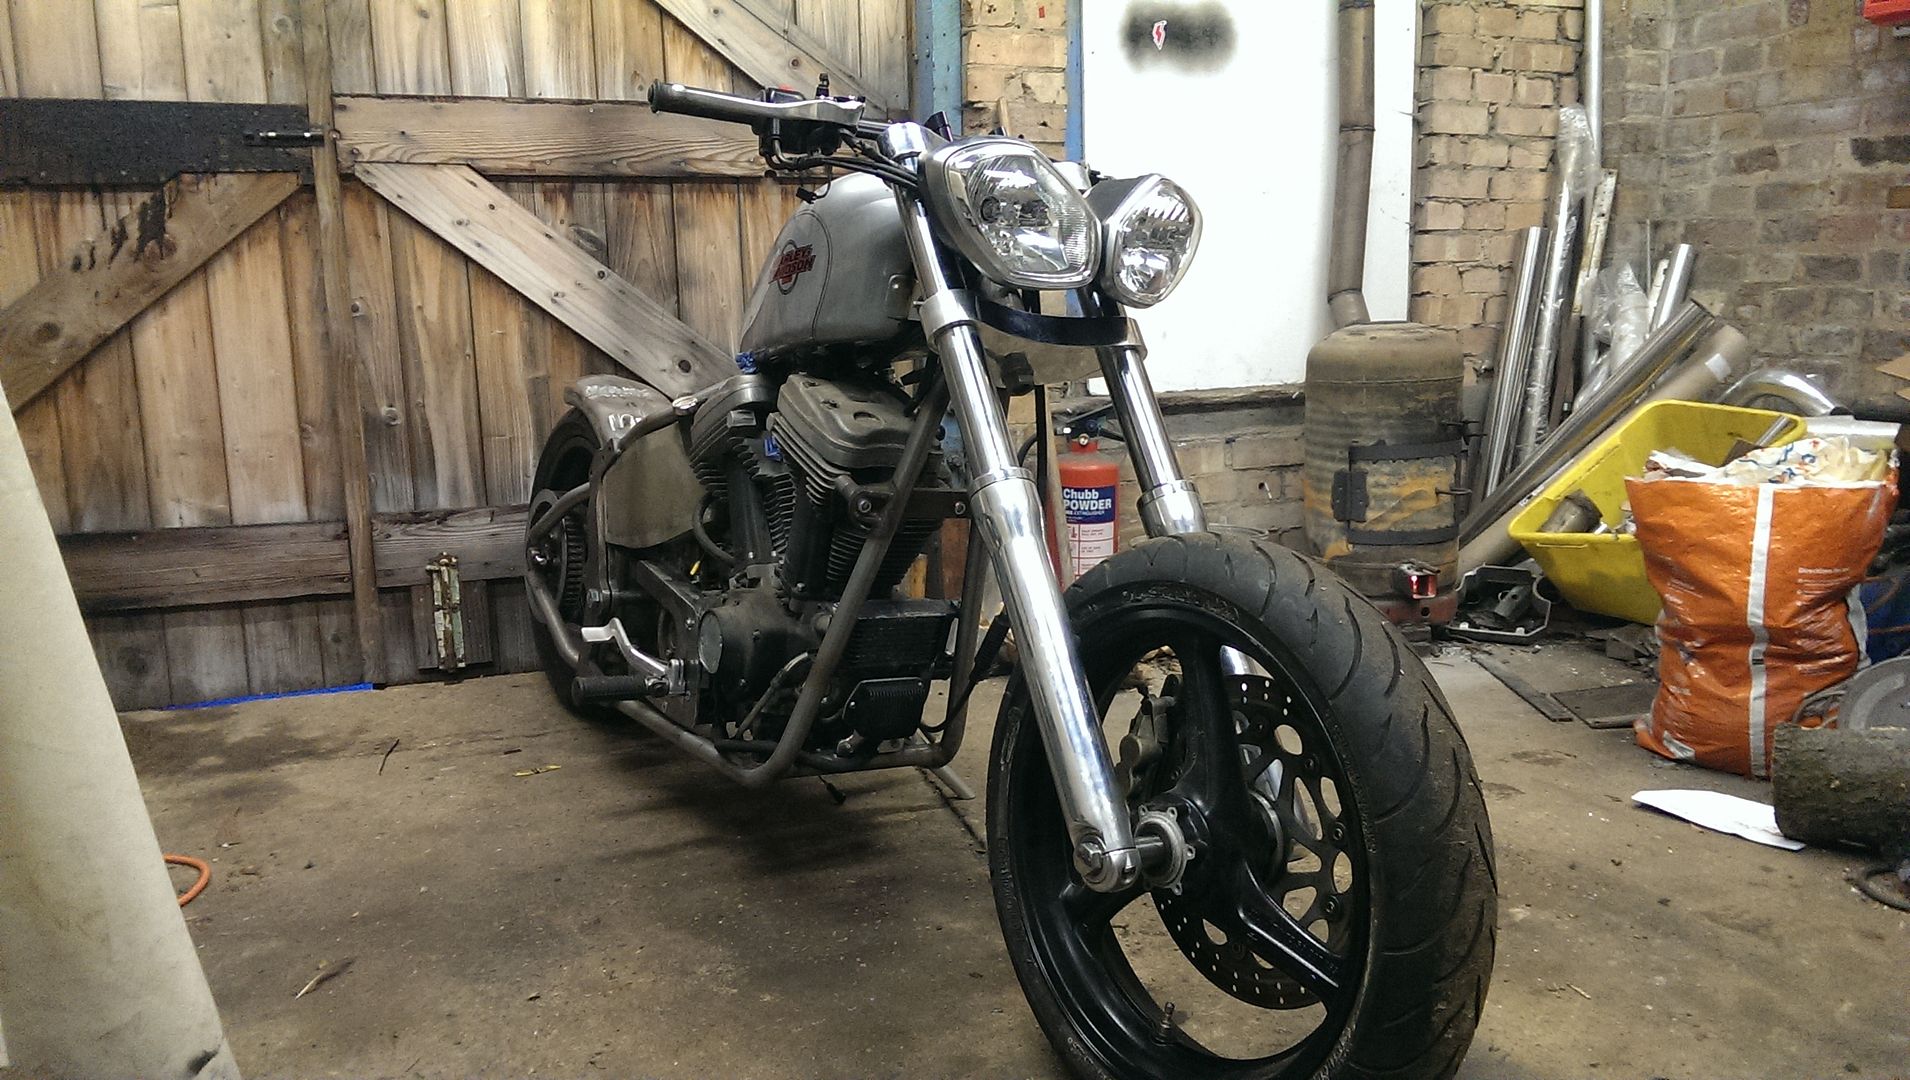
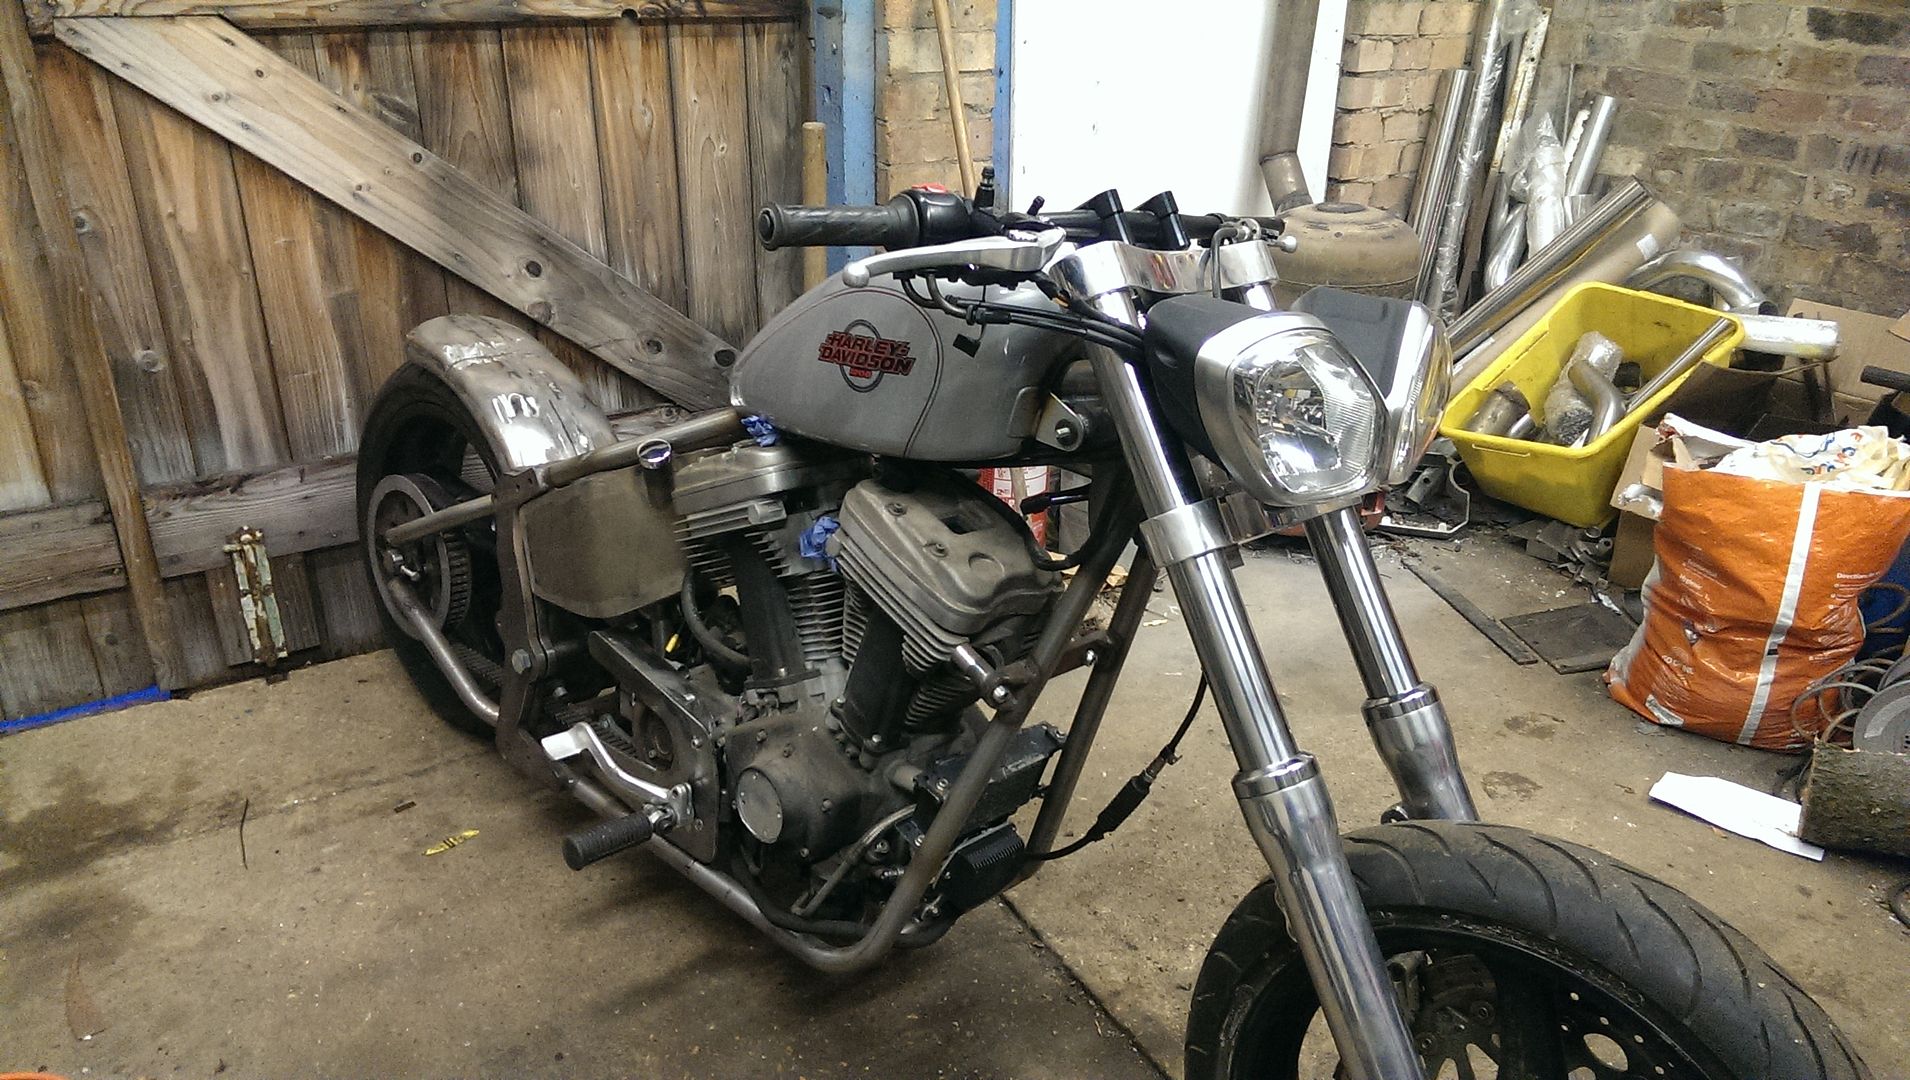
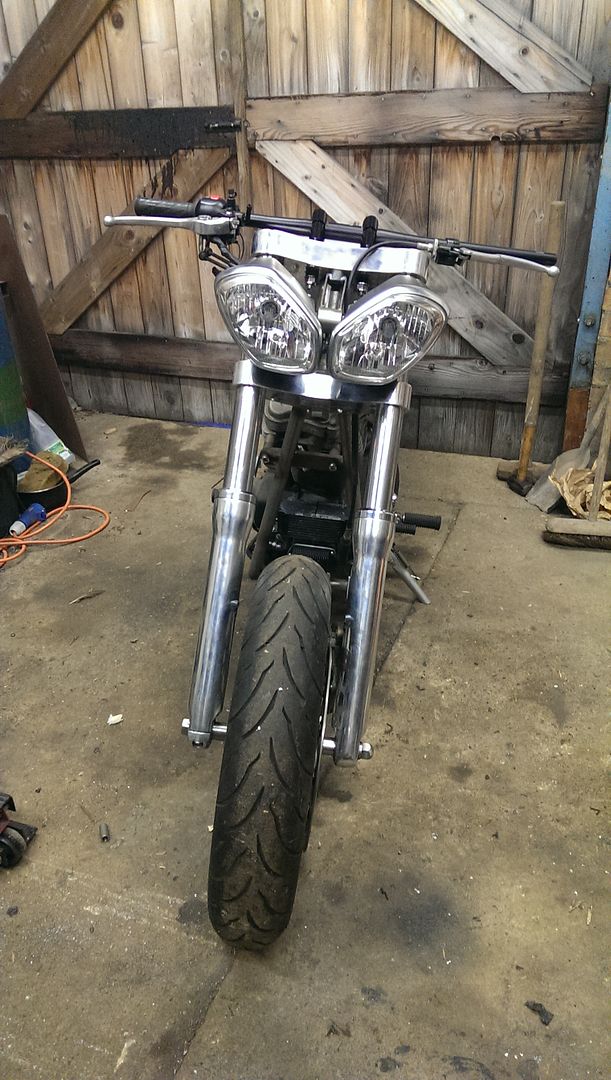
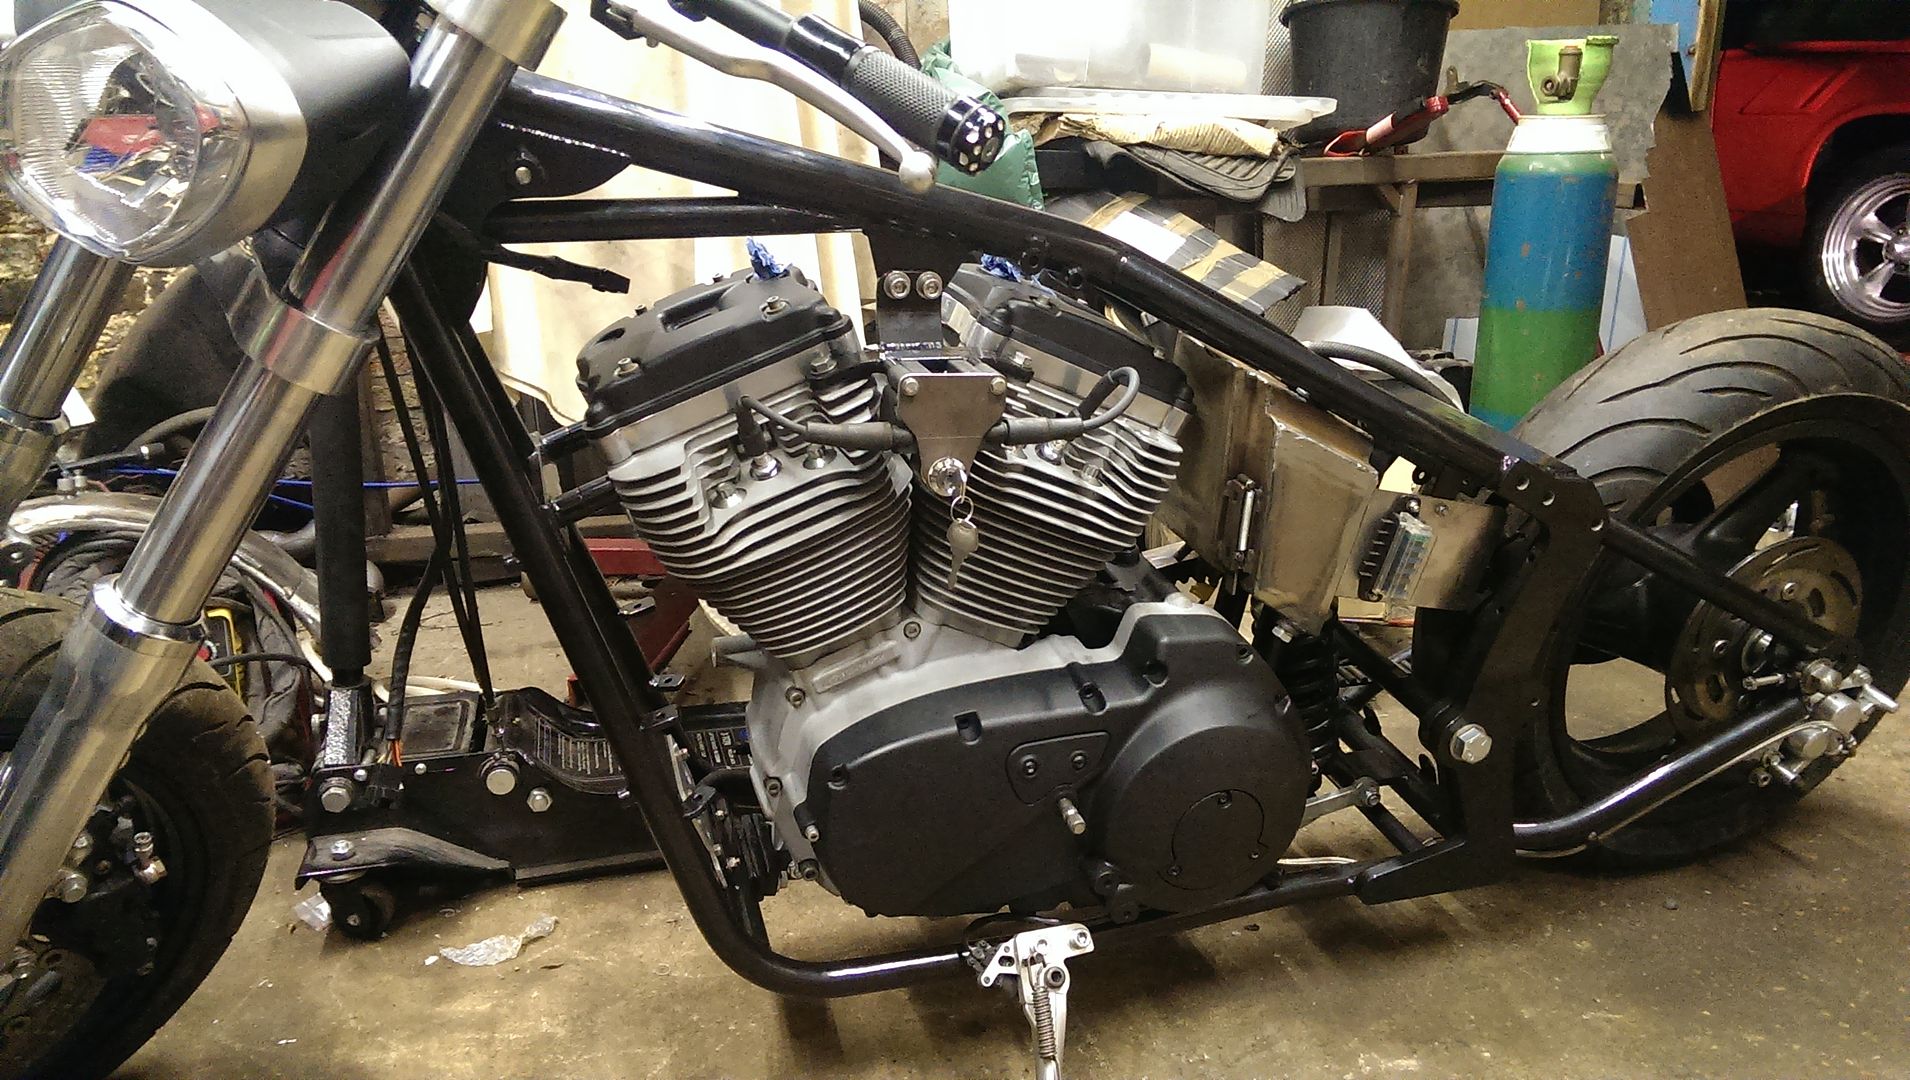
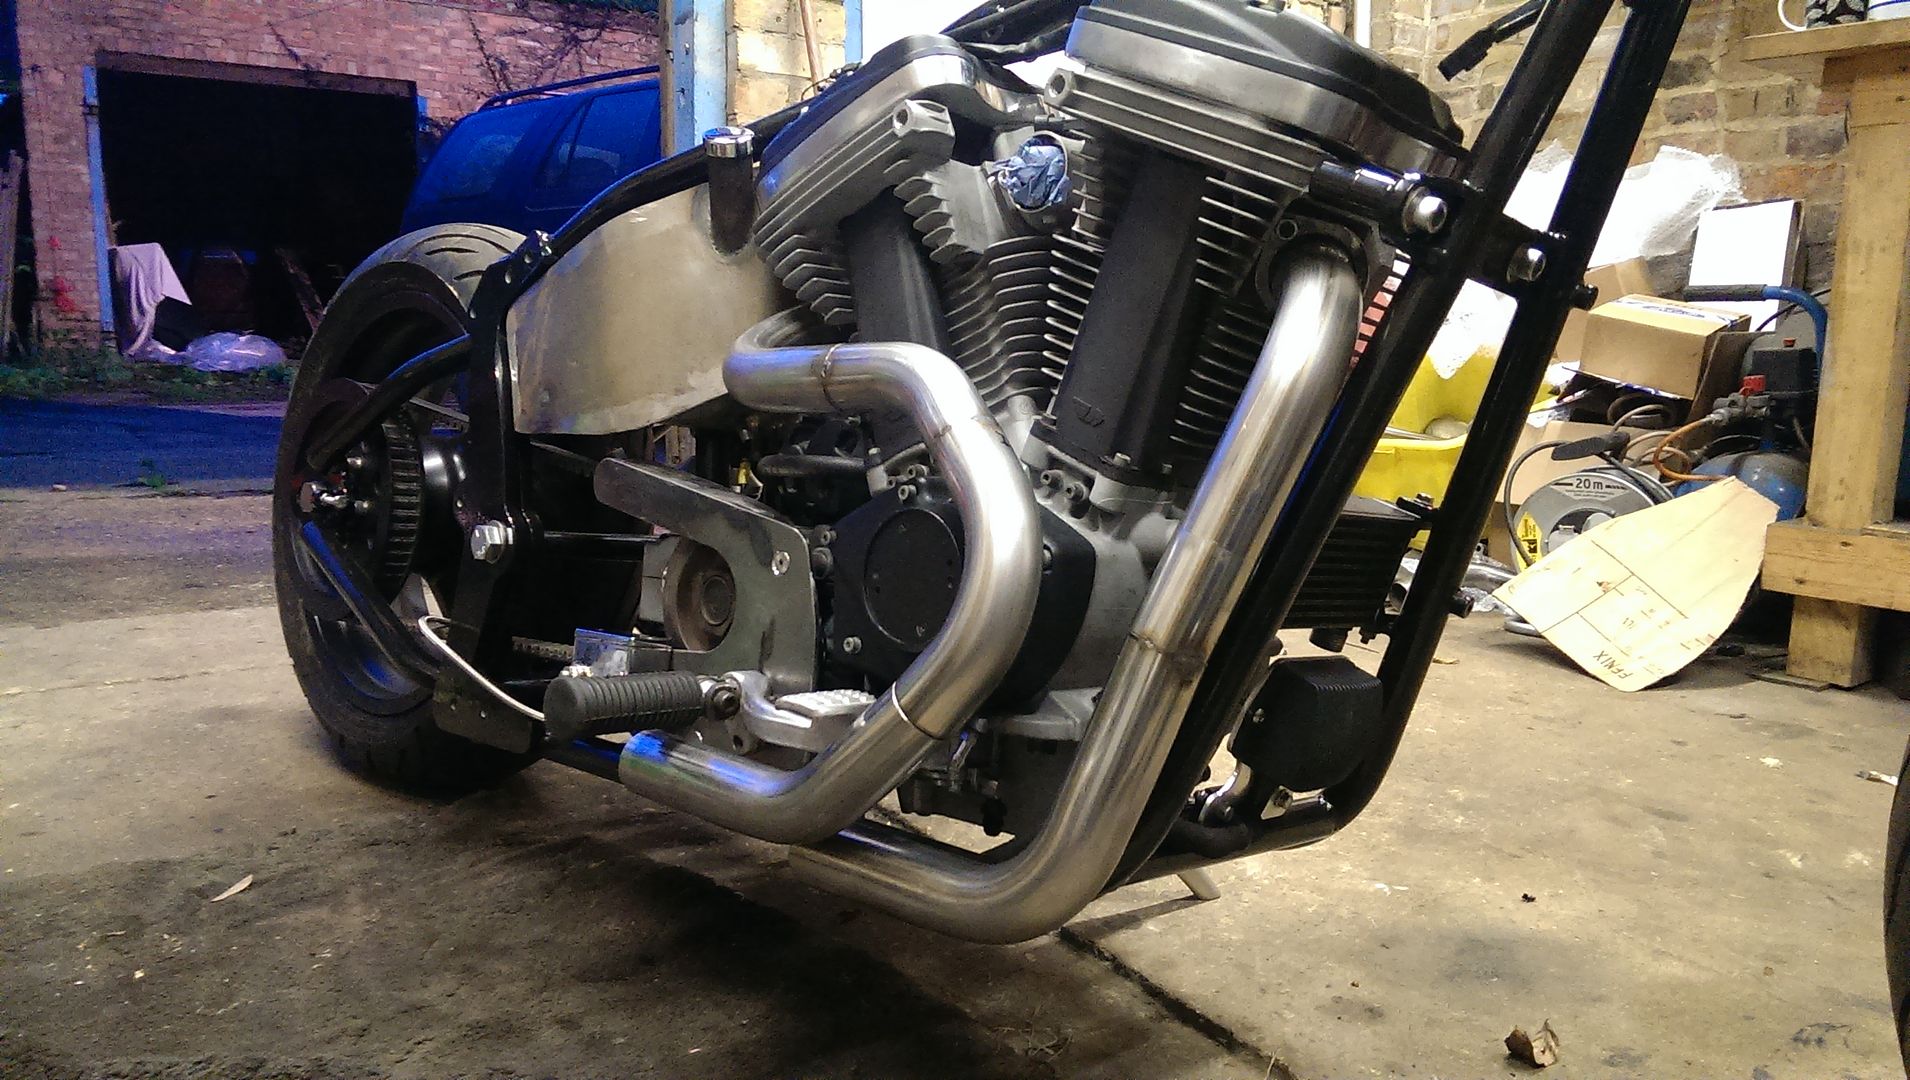
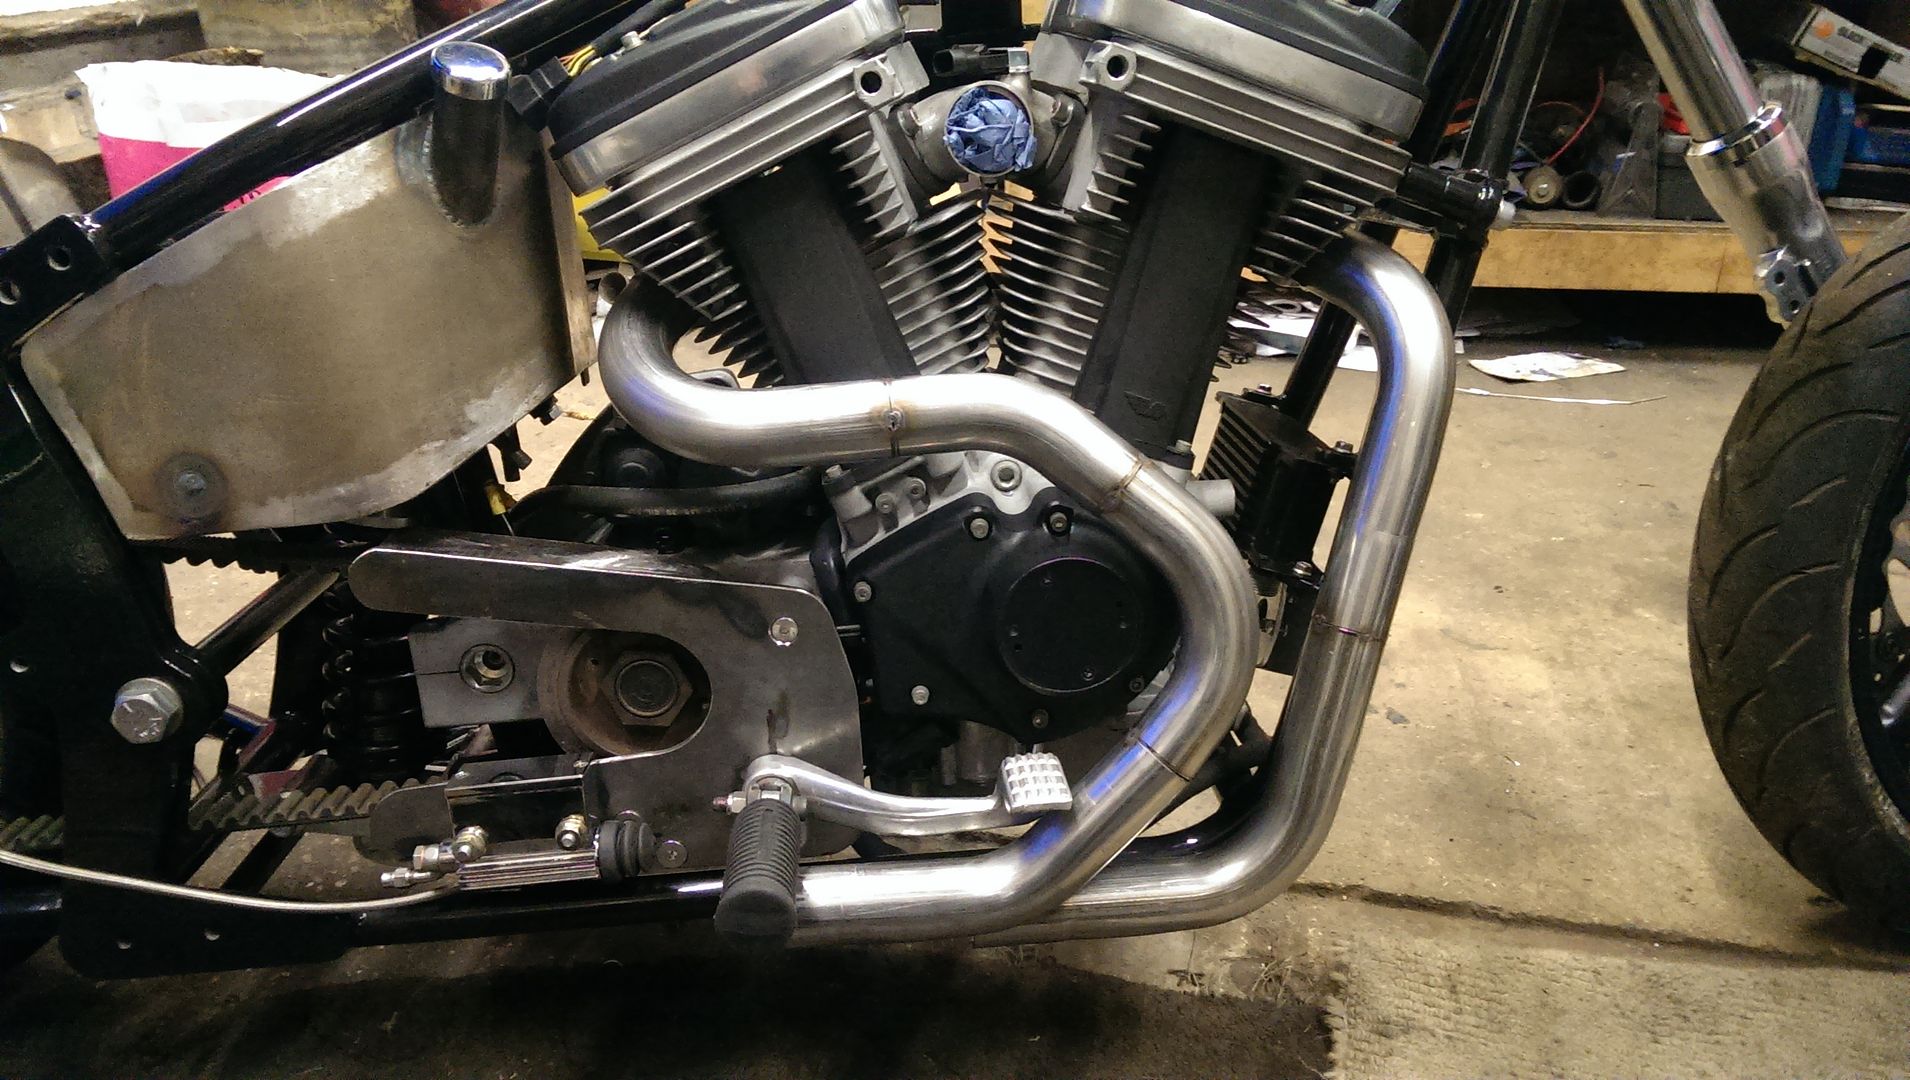
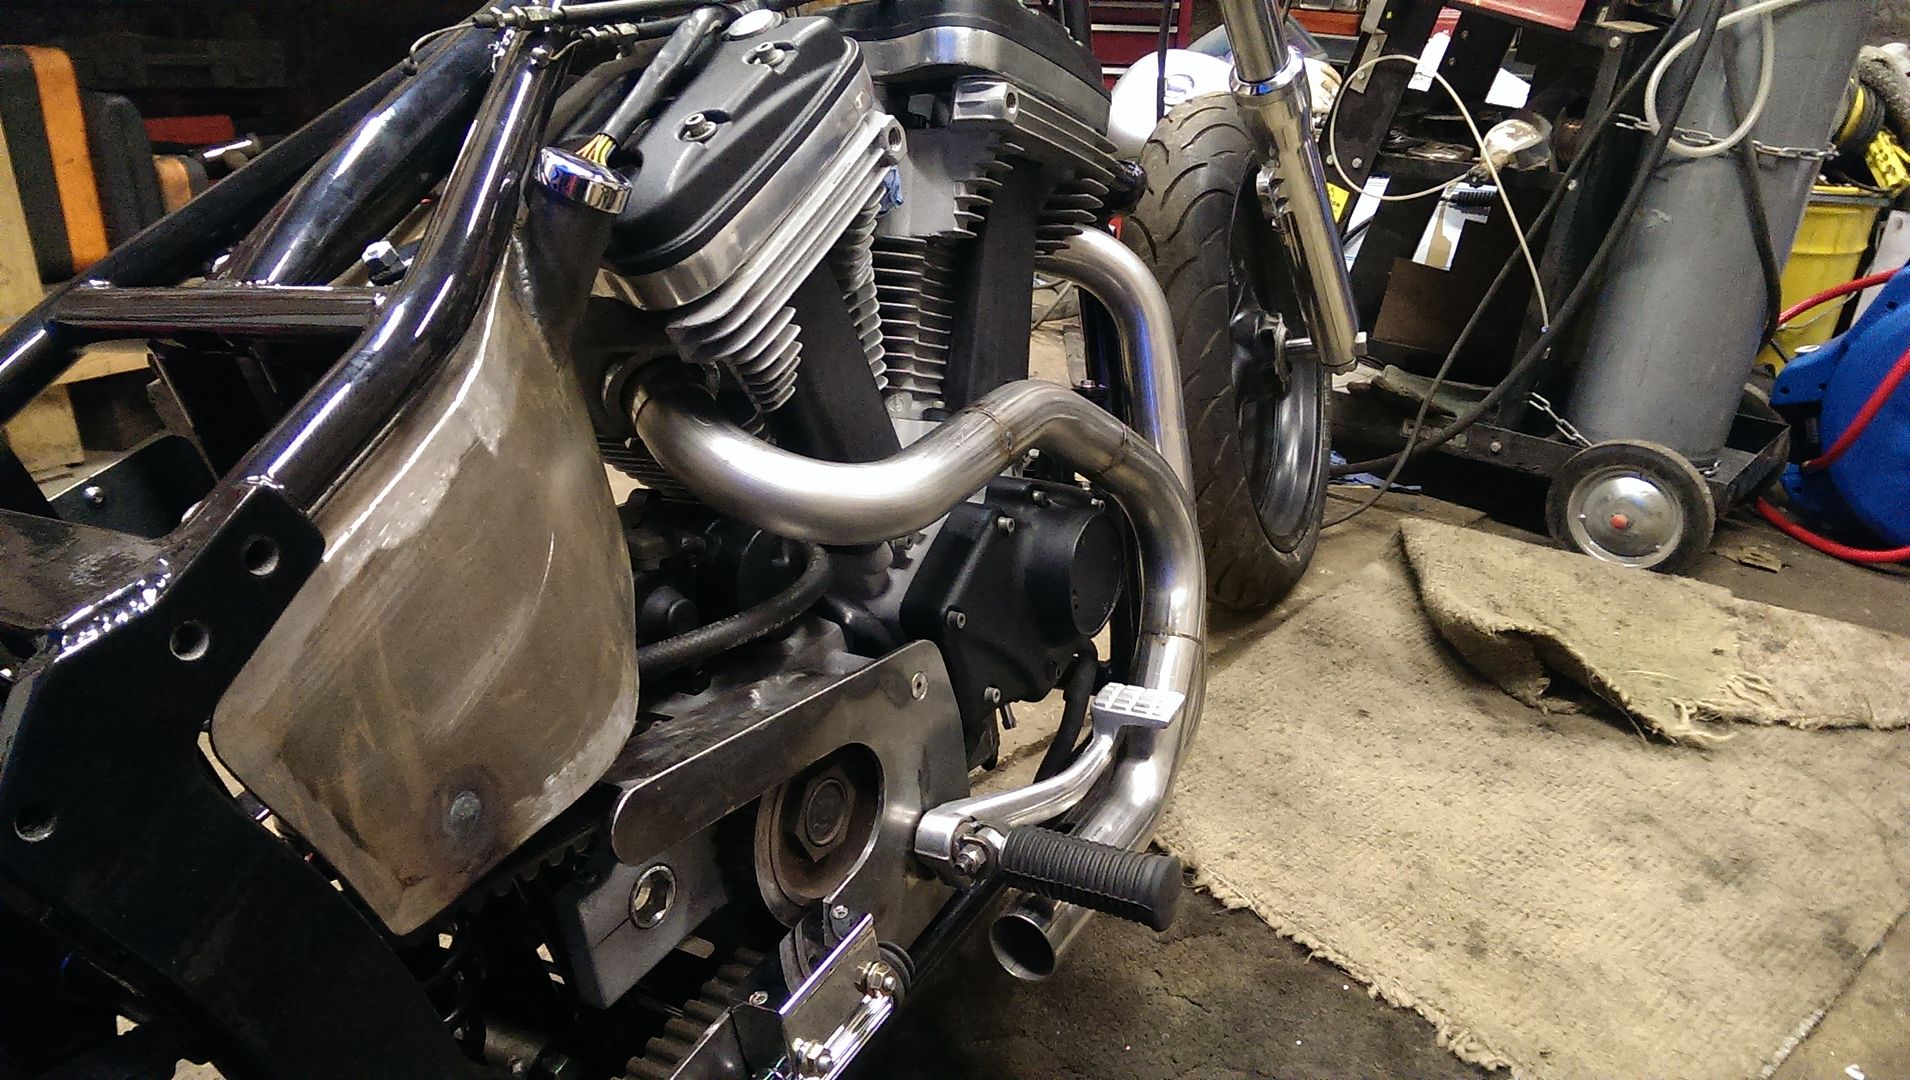
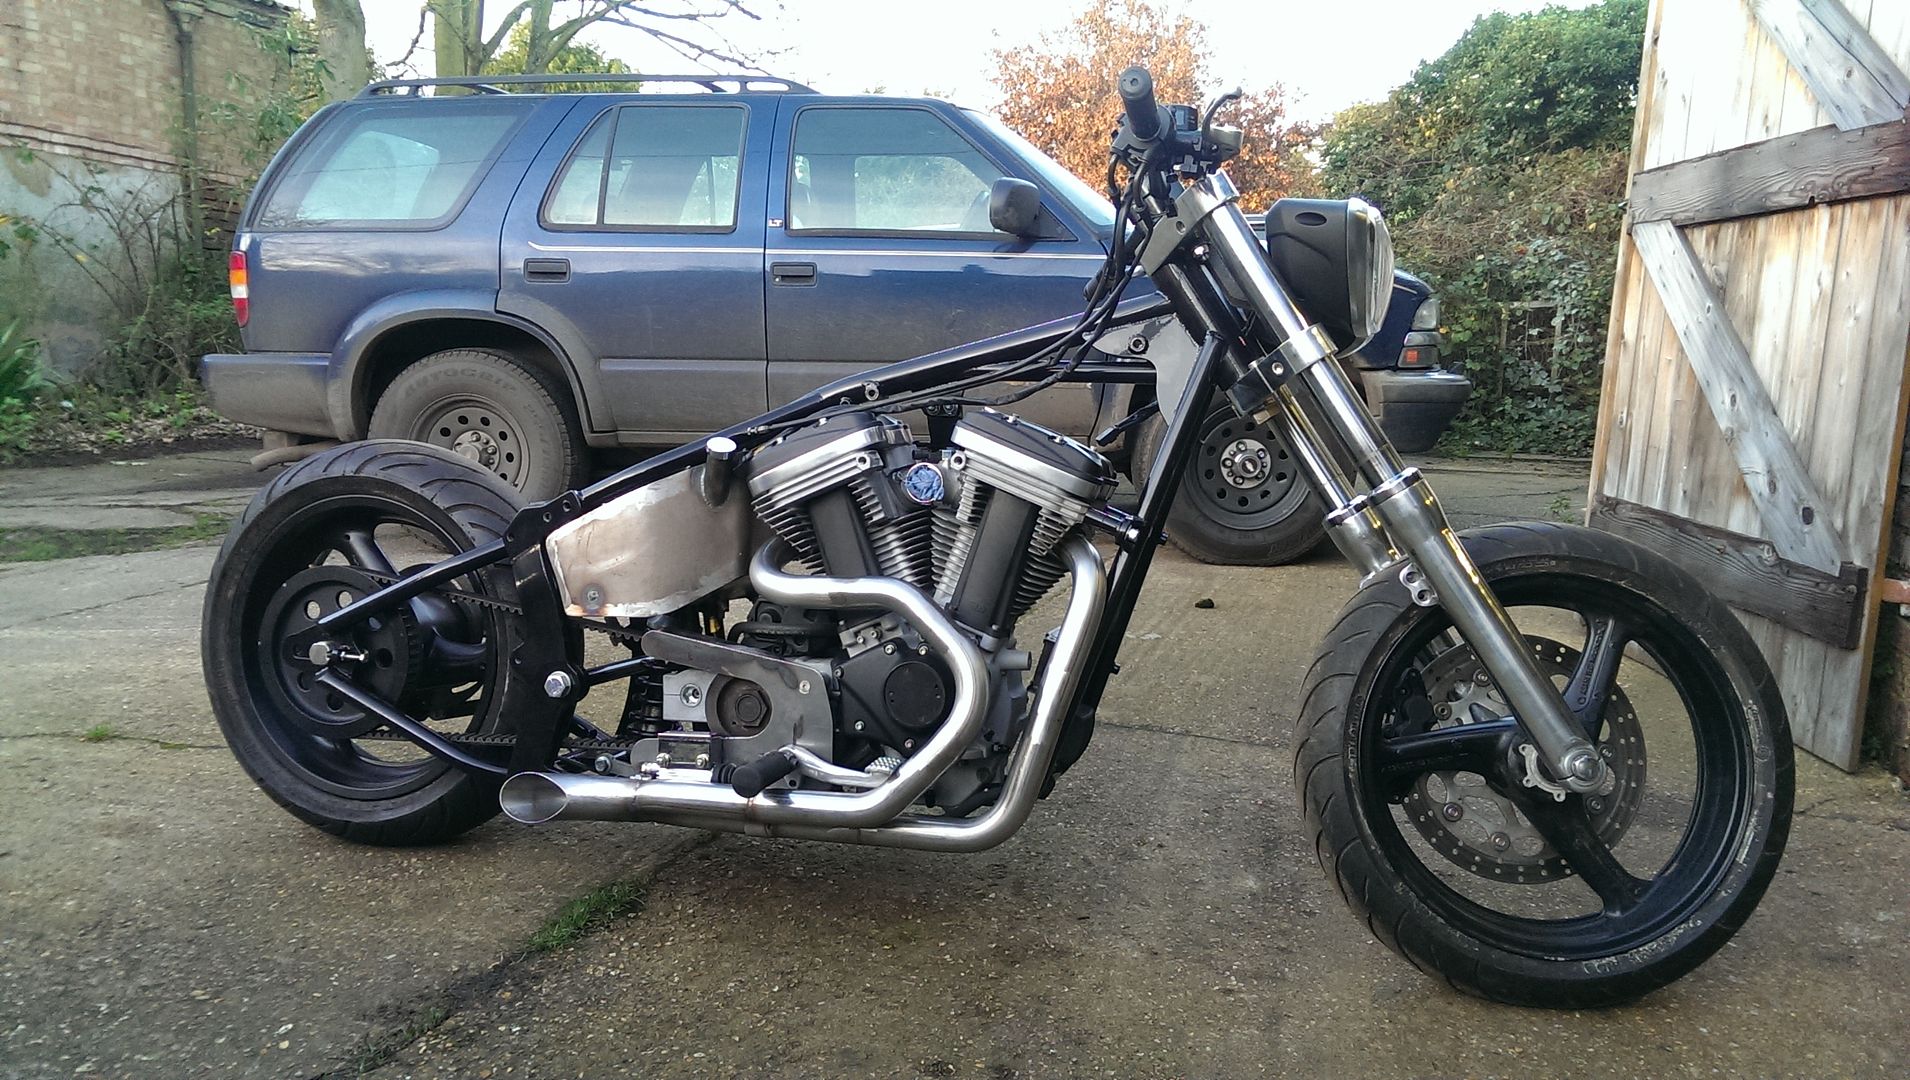
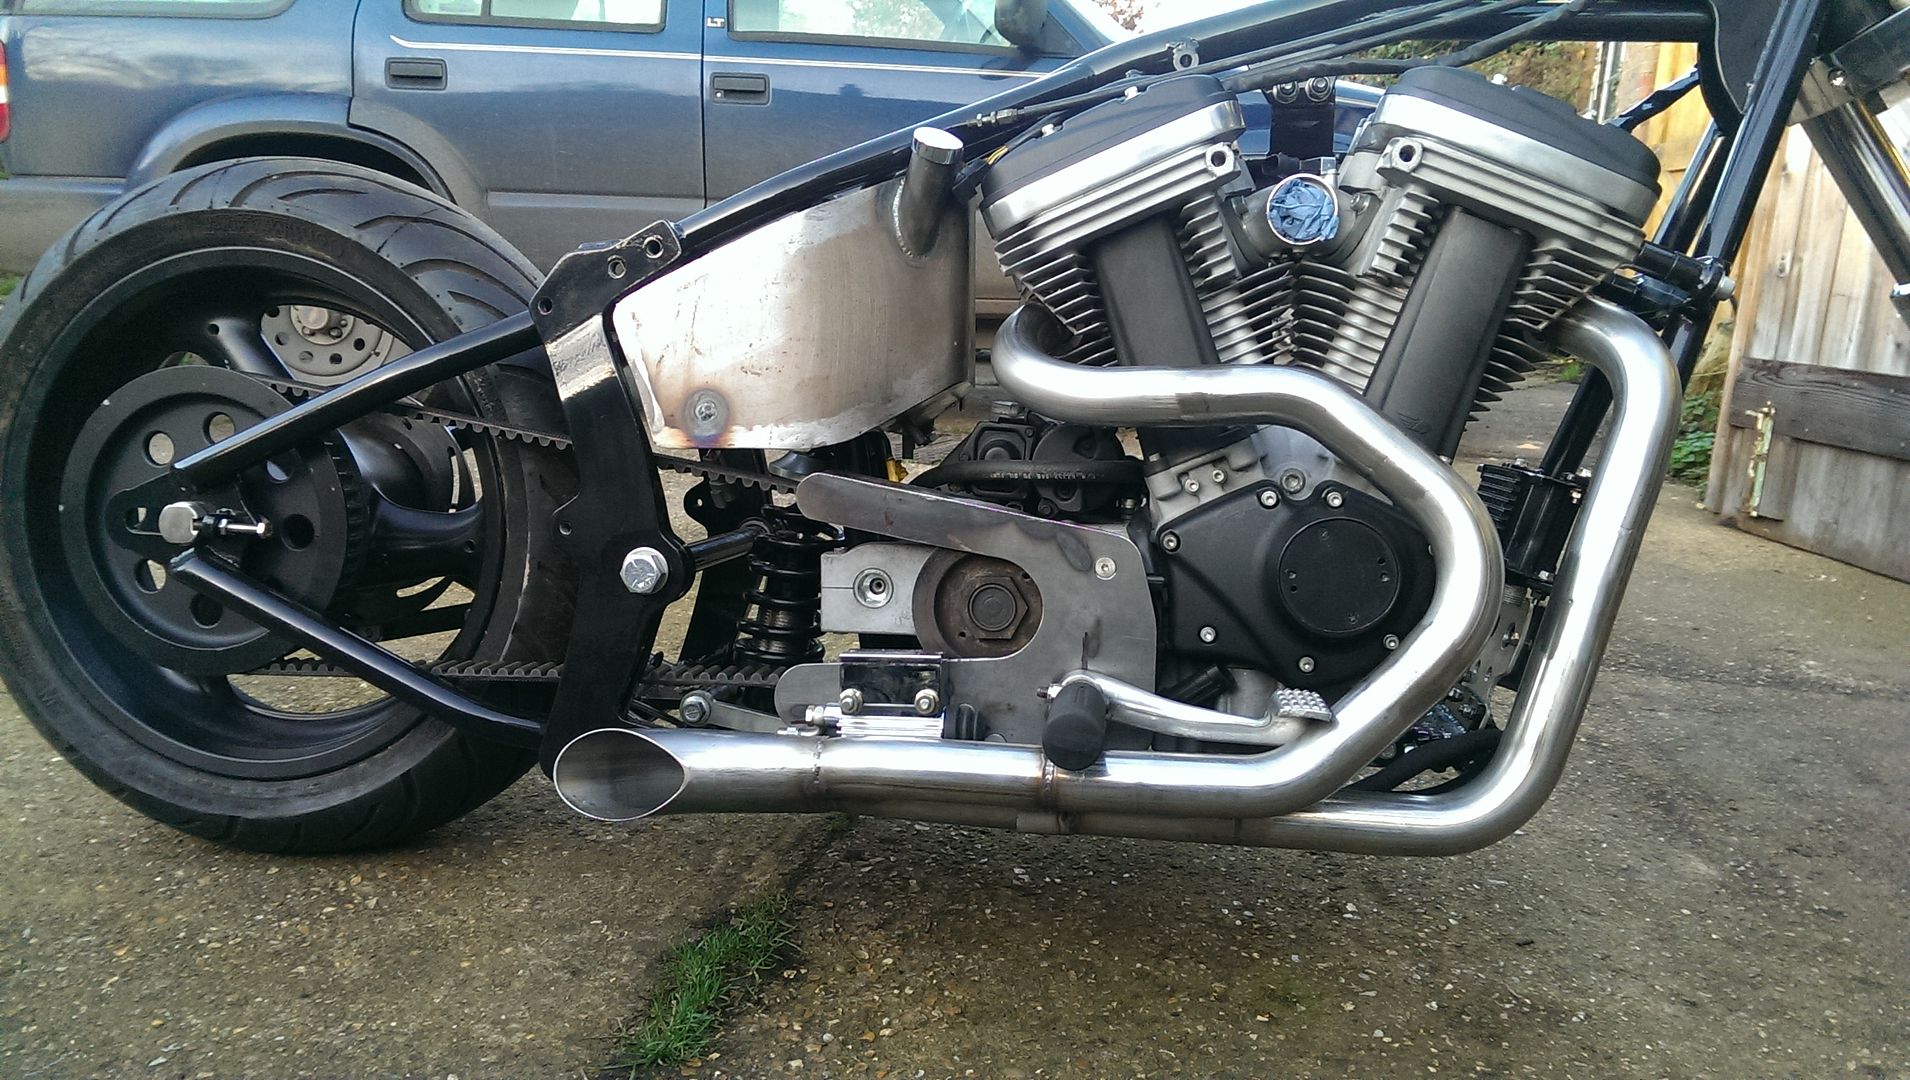
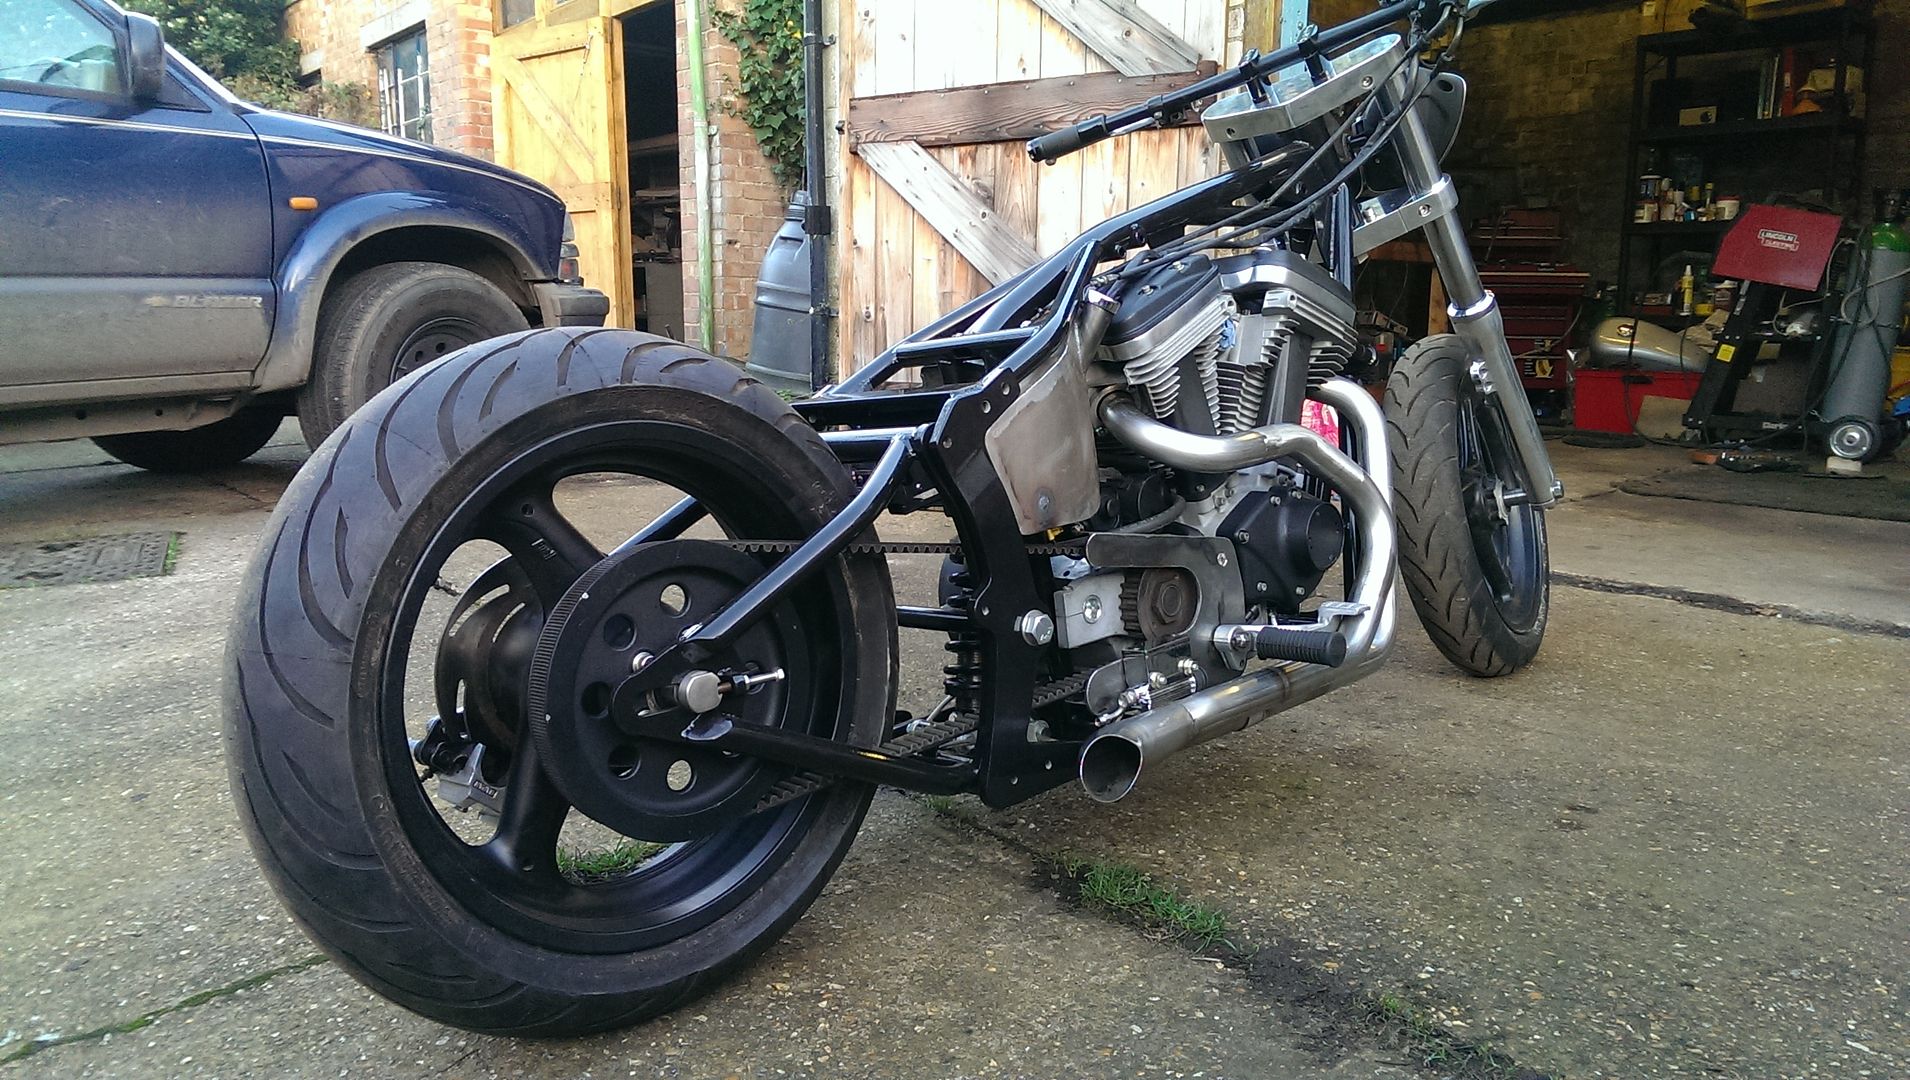
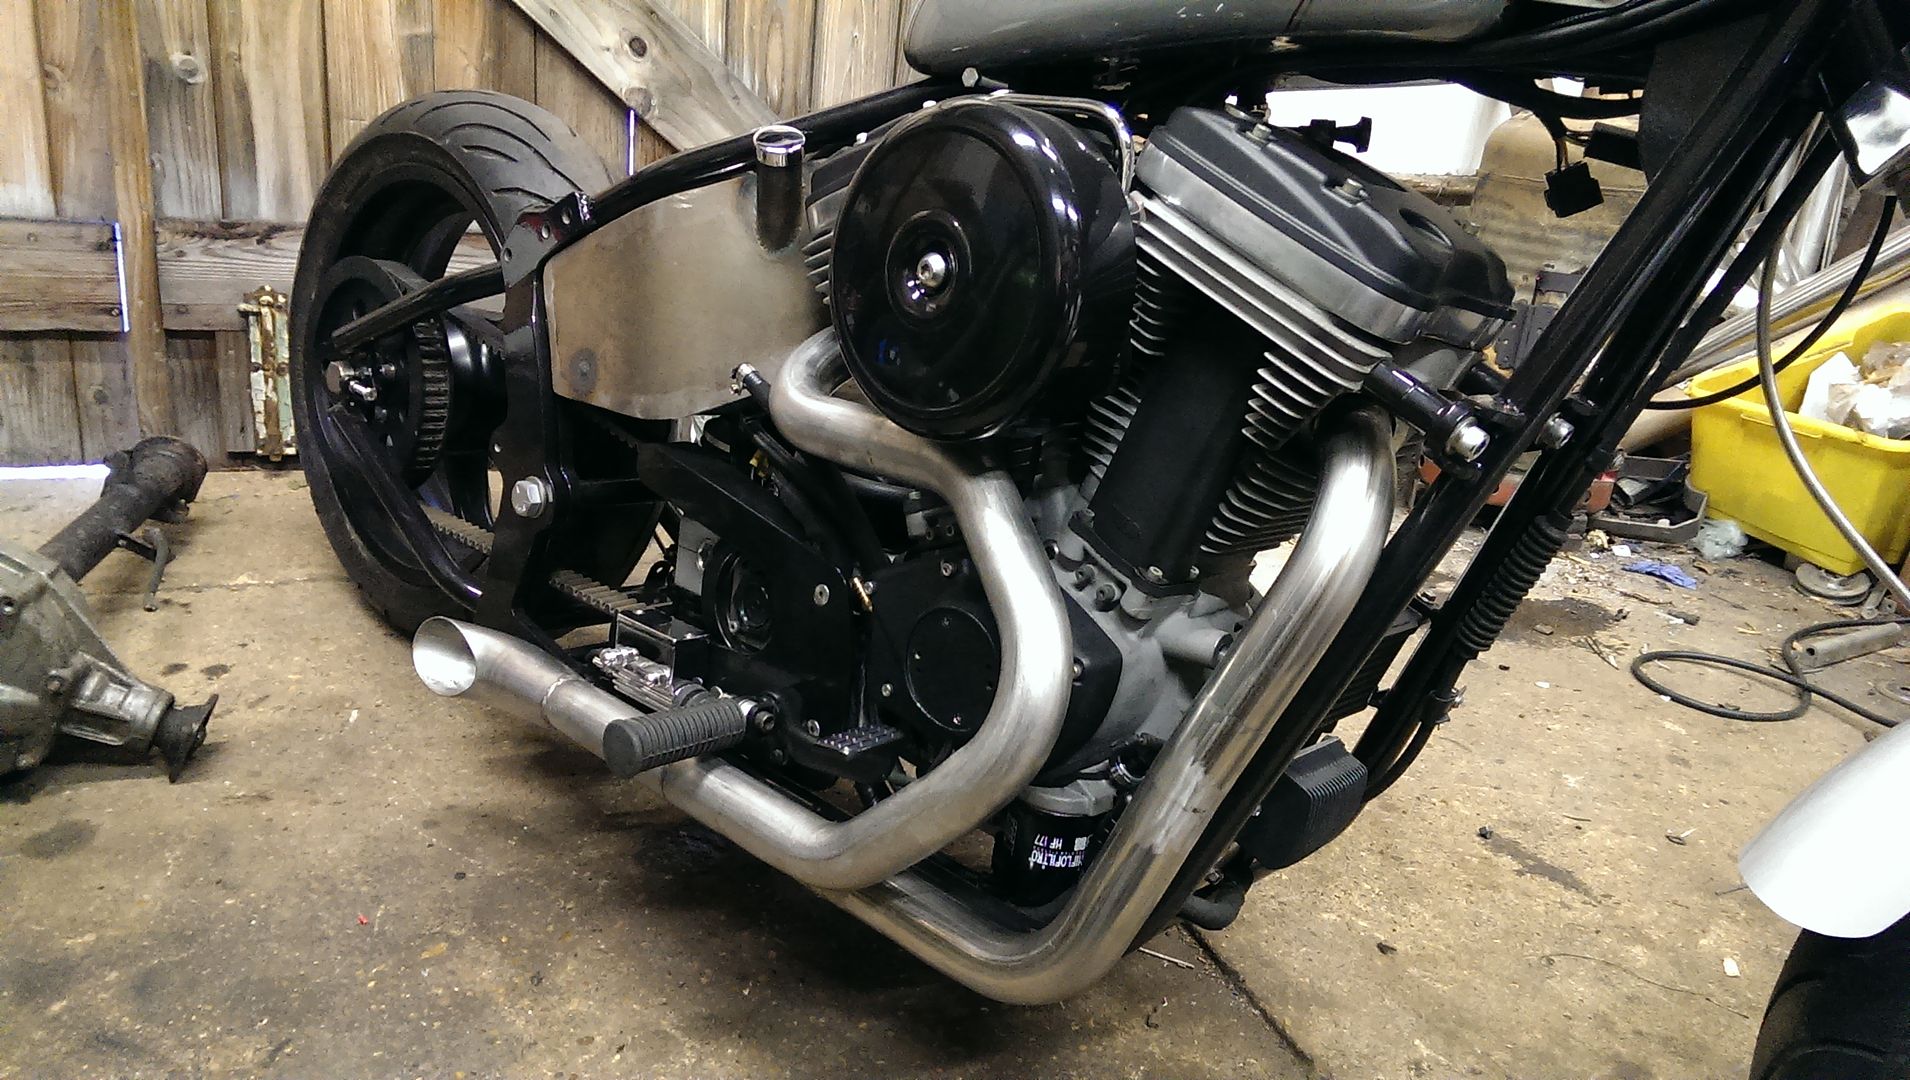
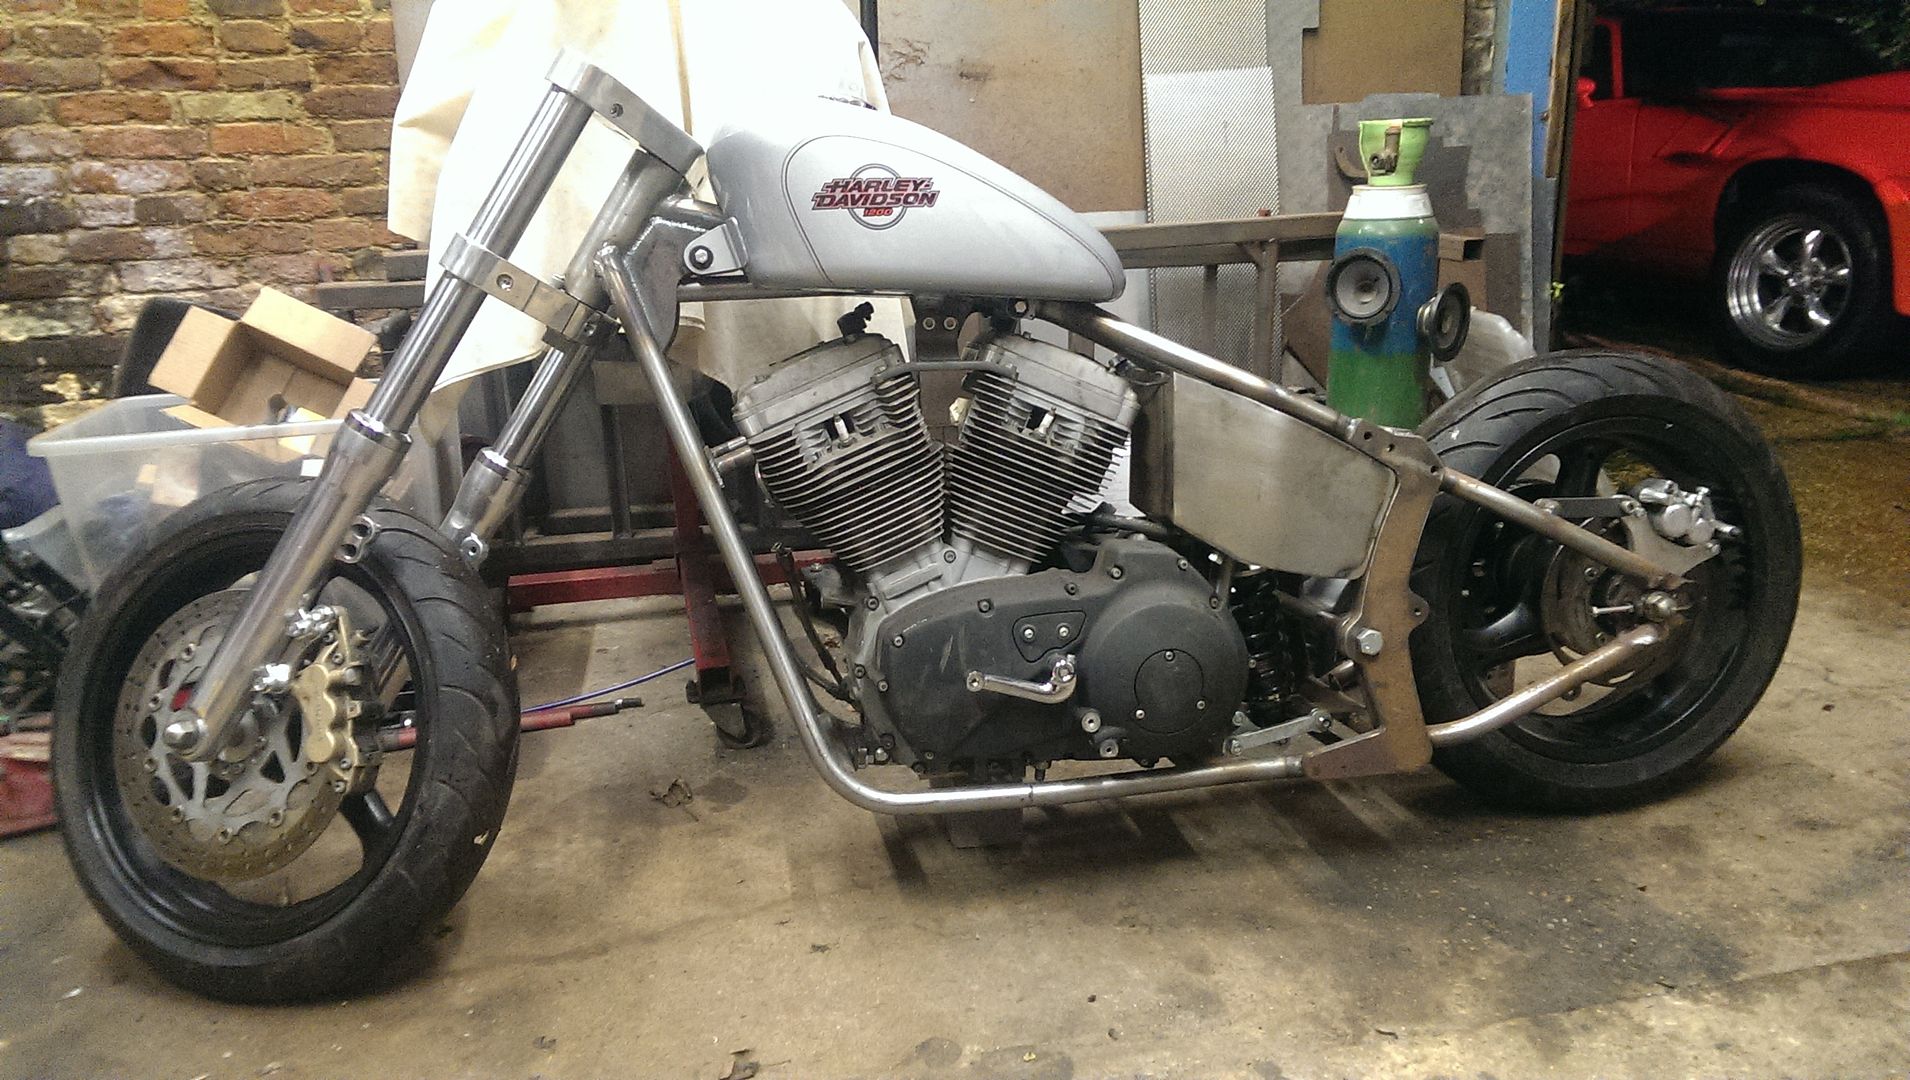
So, here it is:
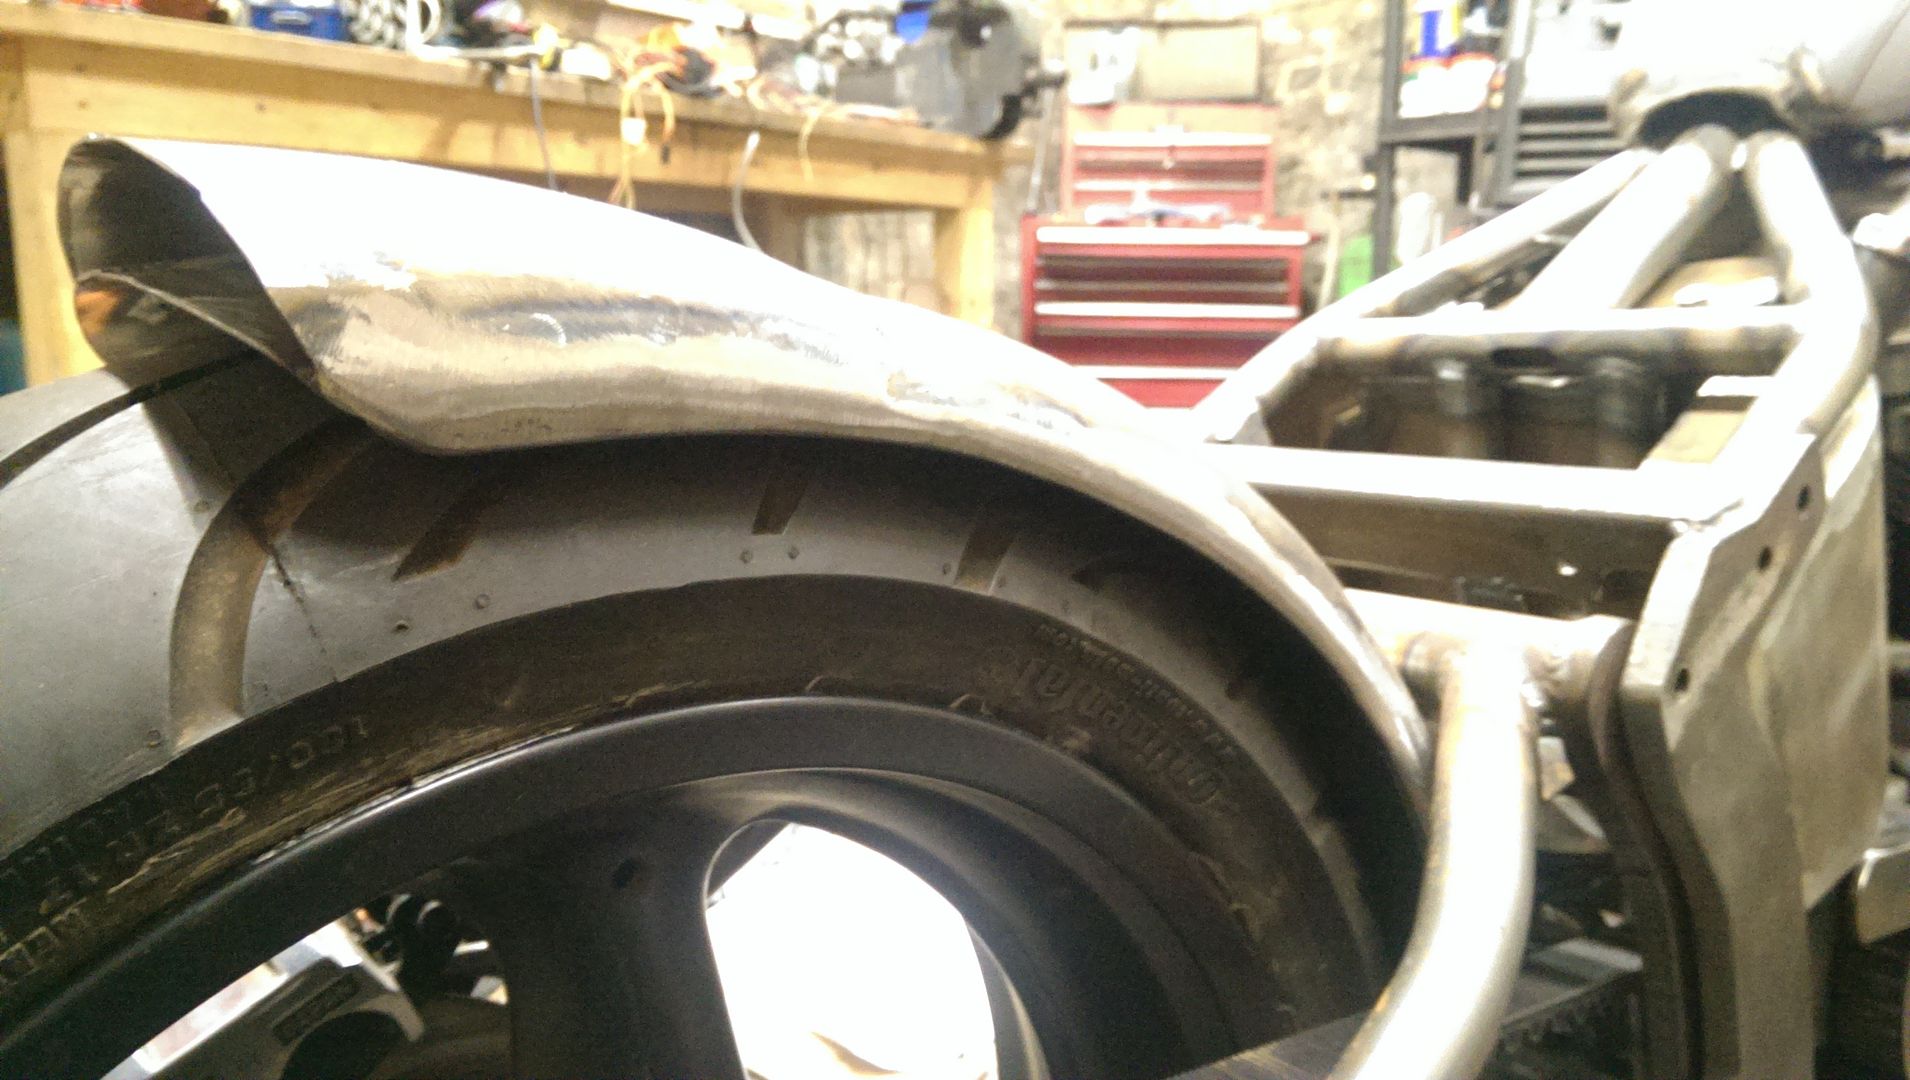
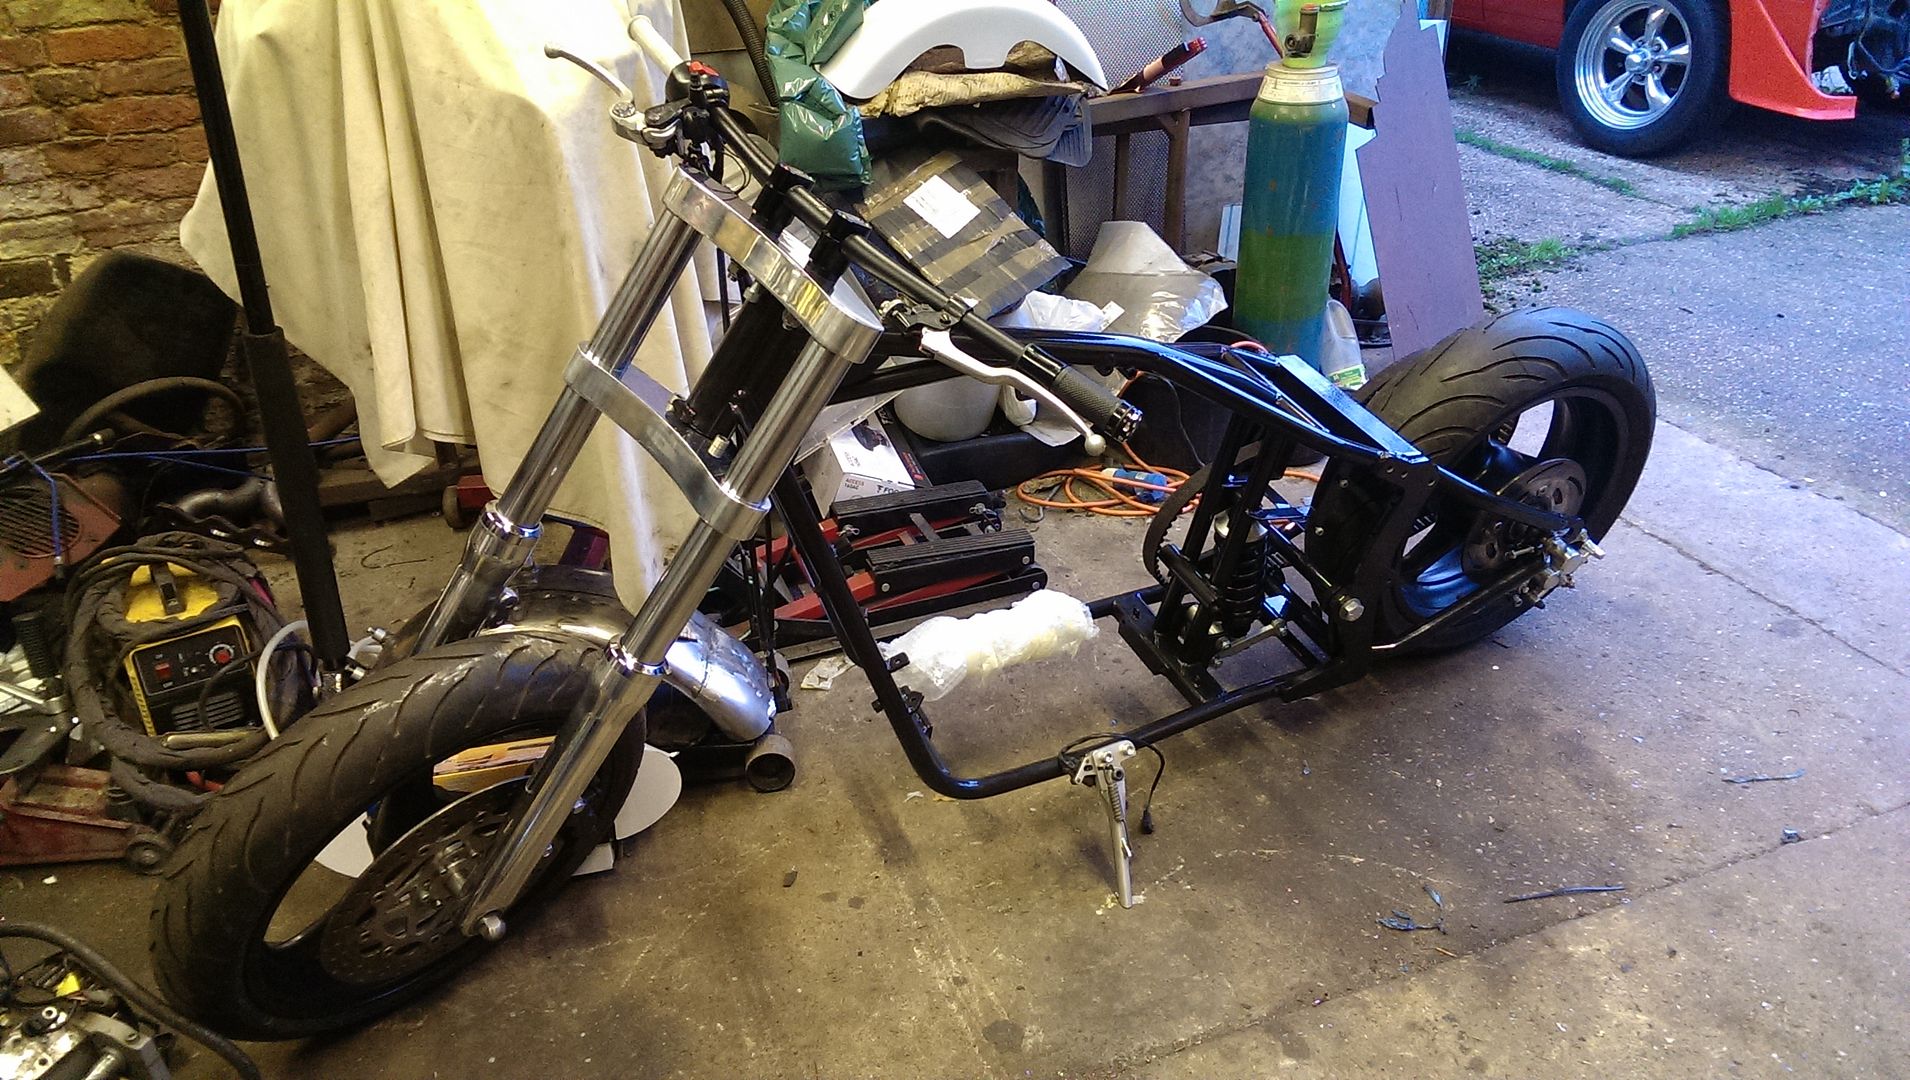
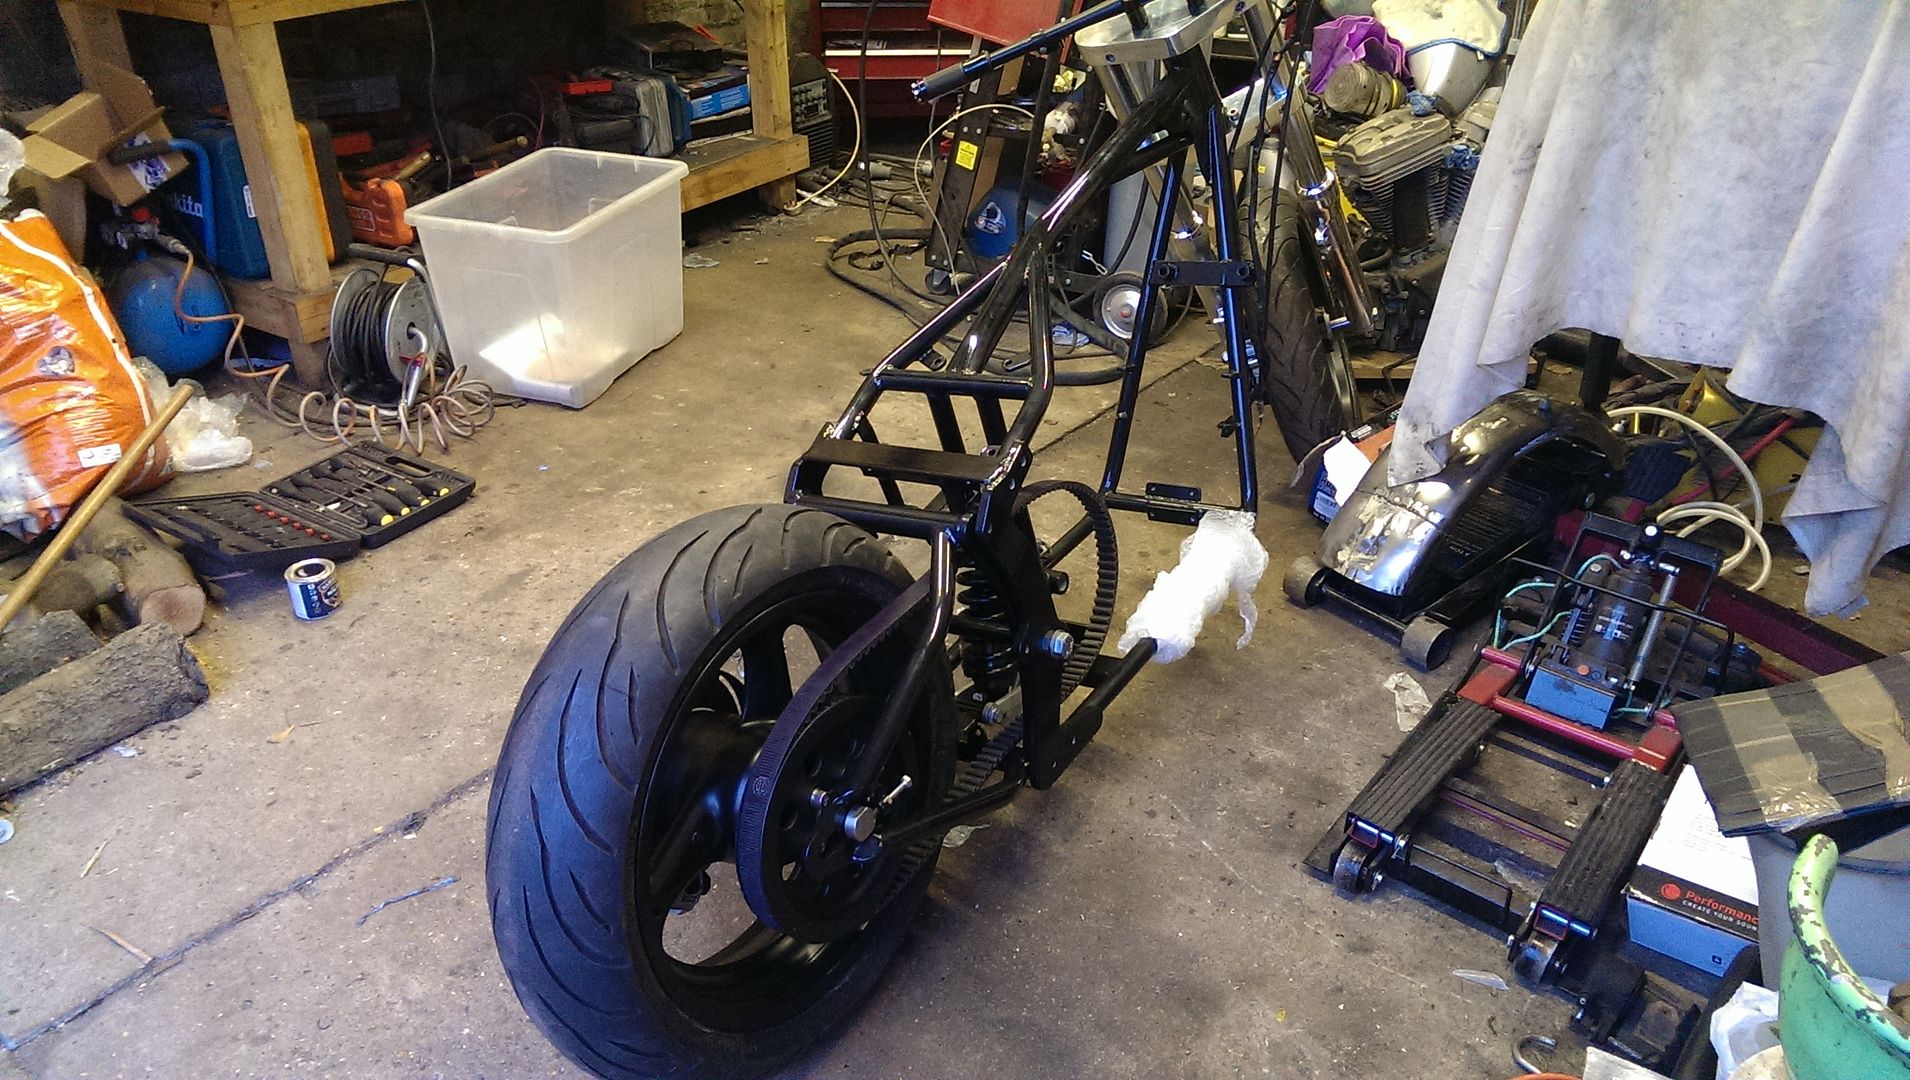
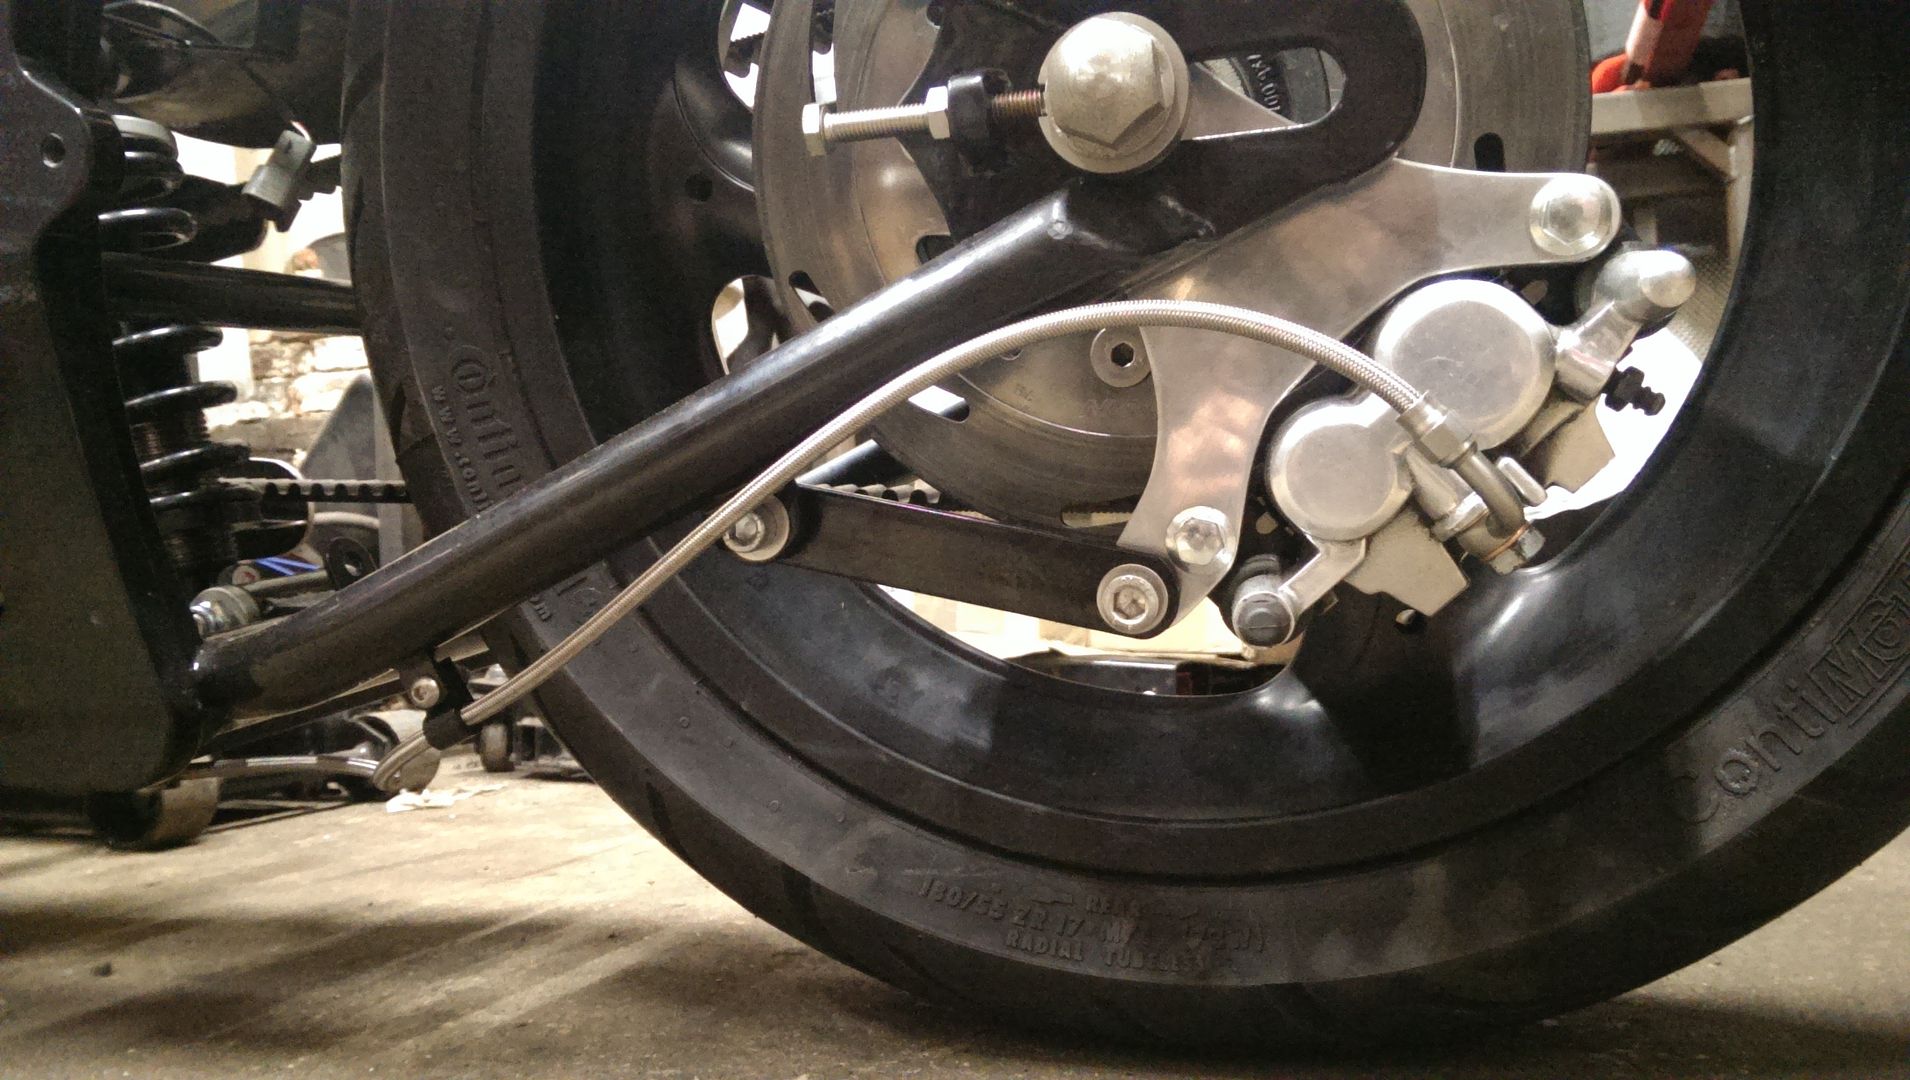
30 deg rake CCD Buell Softail frame, 2003 XB9 lump, 49mm Dyna forks and CCD billet yokes. Buell rear wheel, Honda Blackbird front wheel. Suzuki Hyabusa 6 pot up front should provide enough stopping power. Large sportster tank.

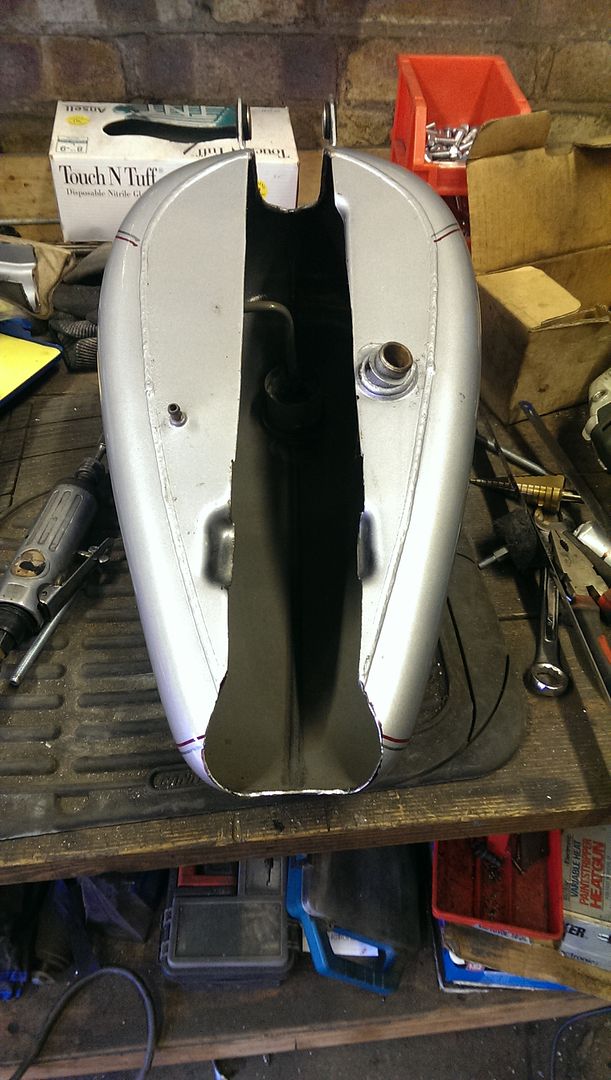
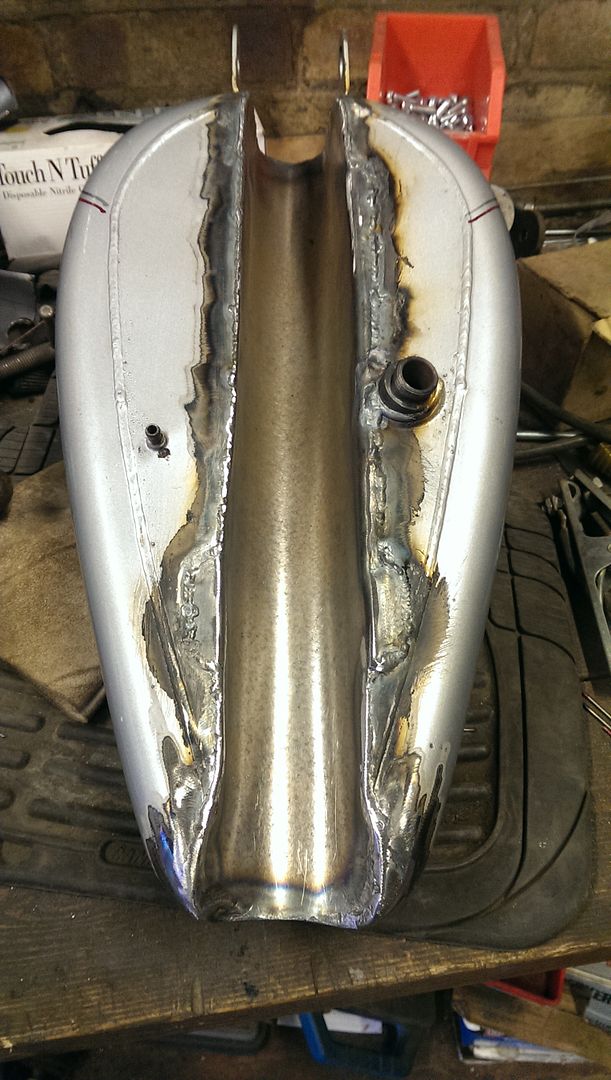
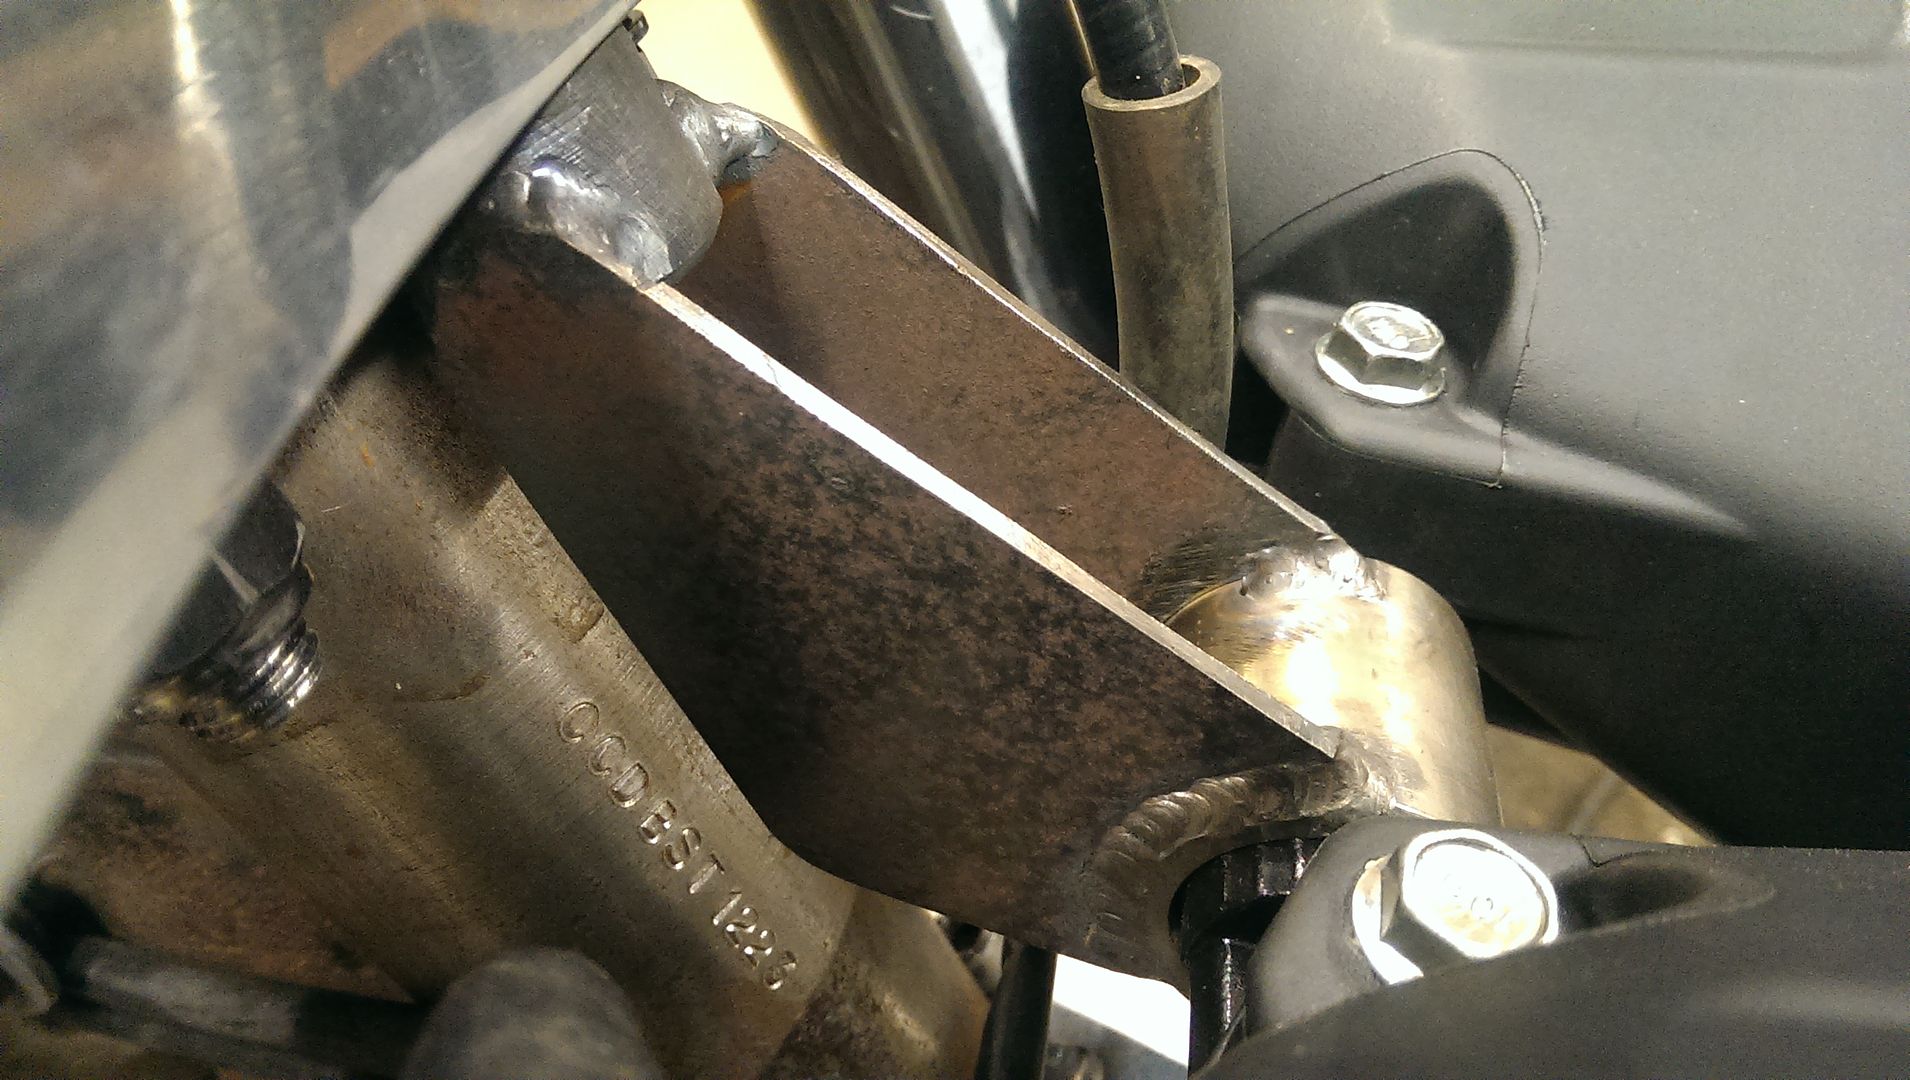
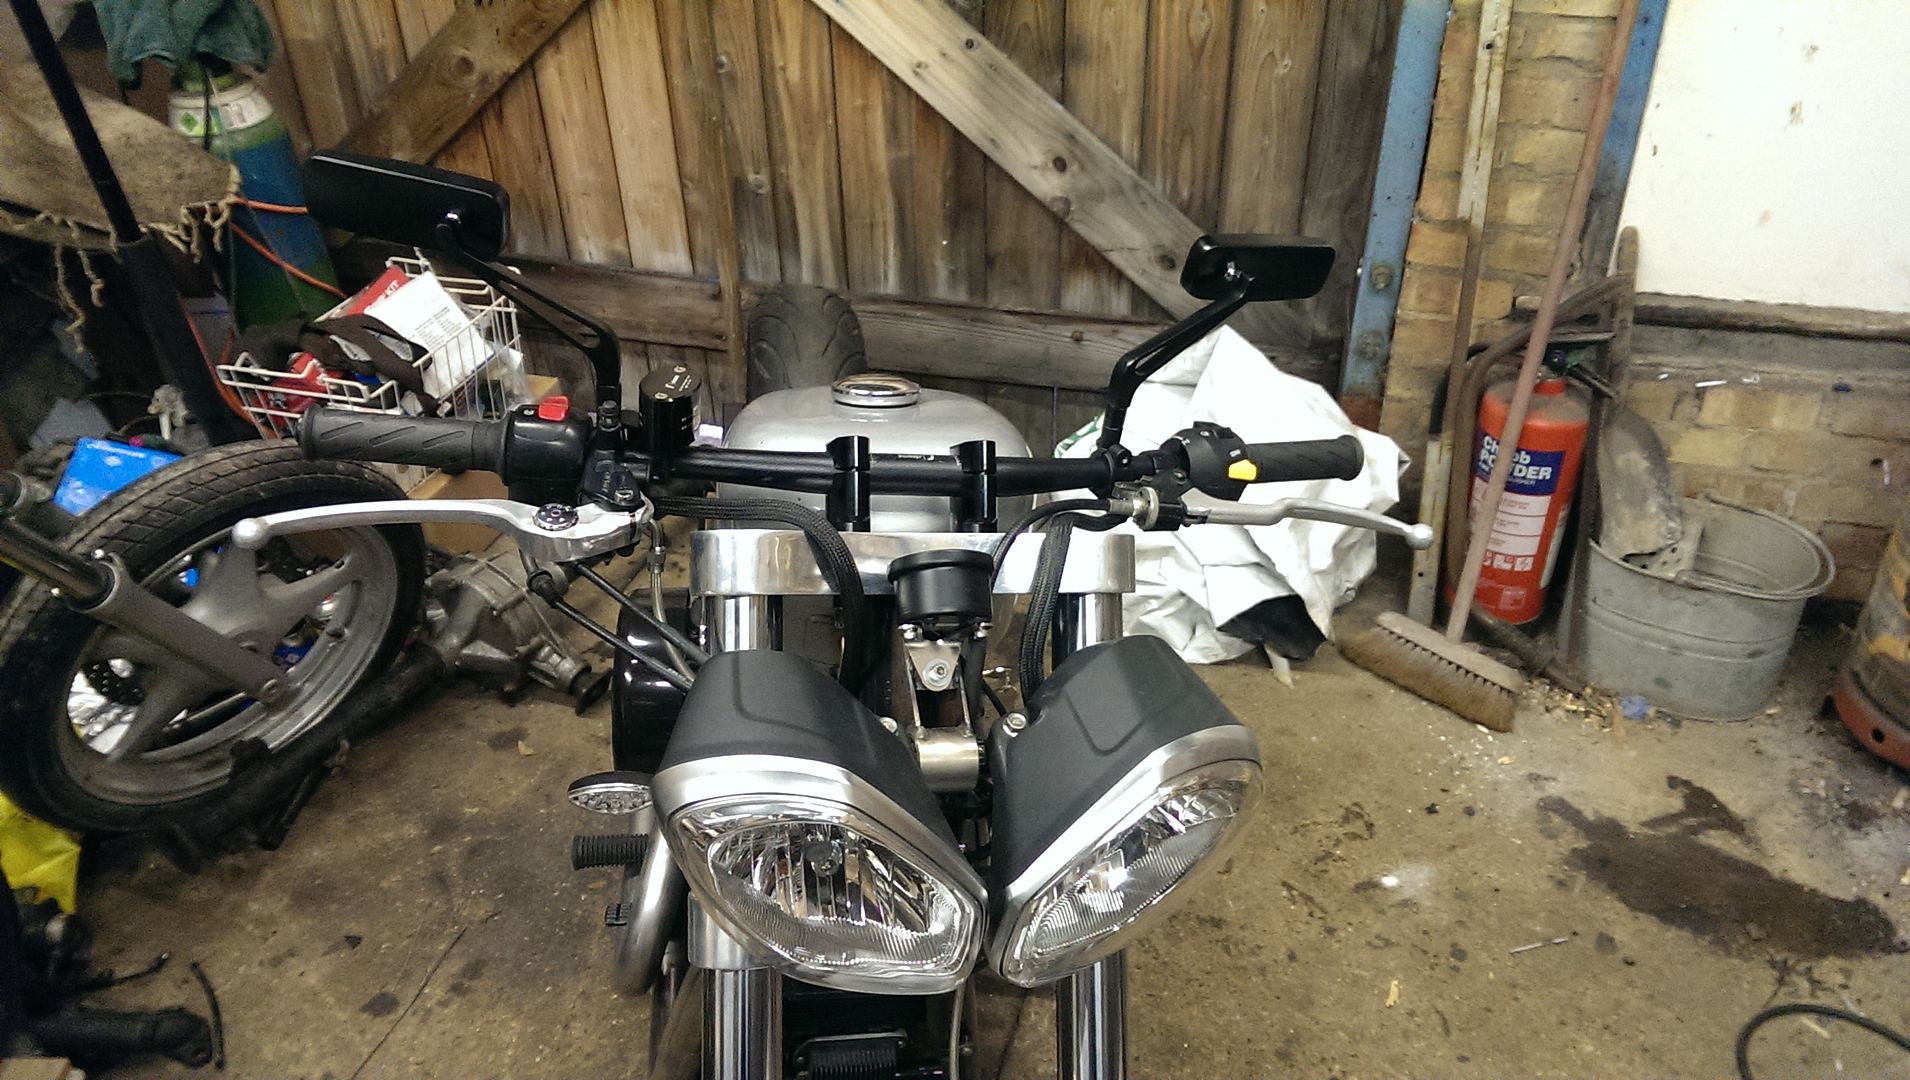
First thing was to get that gas tank sitting nicely, needed dropping about 1" at the back.

The plan:
A simple, functional bike on a sensible budget. Something you can jump on and ride. Something that gets a move on, goes round corners and stops properly.

What's in a name?
Black Rose - this is inspired by Sophie Lancaster (http://www.sophielancasterfoundation.com/) something close to my heart in many ways. Unlike the last bike, I'll be doing my own paint on this one. I've got a head full of designs and ideas for this one. Subtle all the way...

IMAG1263_zpsekwvaoq3.jpg
 
It's been just over 9 years since Sophie's murder. I might just have this done in time for the 10th year.... I've been contemplating doing something along these lines for a long time. I've not 100% decided on the design's yet, but I have a short list in my head of what I want to do.

First job was chopping up that gas tank to get it to sit right on the frame.

I cut the original tunnel out and made a new one to fit in allowing the back of the tank to drop down just over 1". To be honest most people probably wouldn't even notice, but it looks much better to me. It doesn't look like it's perched on top of the frame now and the top of the tank is at the same angle as the top tube of the frame, which helps too.

Spoiled the paint on the tank....

IMAG1267_zpsatmaog4c.jpg


IMAG1268_zpsvqosegpx.jpg


IMAG1271_zpszgdmwcg6.jpg
 
The oil cooler is from an old race bik and fits nicely between the front cylinder and the frame. The Buell reg/rec is considerably different to the usual HD one - mounts differently and it's a bit bigger.

IMAG1282_zpsmhv8pl5s.jpg


I borrowed a 136t belt to finish the set up of the rear fender.

IMAG1283_zpsjeearxz5.jpg


Made up mounting bosses and spacers for the rear fender then strengthened it up. After that started making the housing for the rear light. It's going to be a combined brake, tail and indicator unit, that I'll fashion from acrylic and LED's.

IMAG1298_zps8cicufhb.jpg


IMAG1299_zpspxv8ozjg.jpg


Back to the footpeg and pulley cover. Cut one from a piece of plate, machined up a pivot/peg mount. The master cylinder will mount on the lower section behind the peg. I'll also be added some more protection for the belt as well.

IMAG1300_zps5sbyqwki.jpg
 
Finished front pulley cover....

IMAG1315_zpsbc9hhlnm.jpg


Finished the structure of the rear fender as well - welded some round bar along the edges to both stiffen it up and make it look nicer. Next thing is finish beating the rear light aperture into the final shape and then make the rear light.

IMAG1316_zps5nt4dkfh.jpg


Thought I'd have a look and see what of the original Buell loom I could use. The fuel injection section came out fairly easily...

IMAG1313_zpssv27tks5.jpg


And the rats nest of what was left
IMAG1314_zpsgnzjfn9b.jpg
 
Sorted the relay mounting, on the back of the battery box.

Spent a whole day messing around making a poxy headlight bracket.... Not sure why it took so long, other than I didn't seem to be able to engage my brain. I ended up making a jig to build it on, and then transferred it to the bike. It's part of the reason being fussy means everything takes 5x longer than it should.

Anyway, pics.

IMAG1345_zpsg2q9zti1.jpg


IMAG1347_zpsltmzdr8n.jpg


IMAG1349_zps8jpqy4vu.jpg


IMAG1348_zps2lrymymy.jpg
 
IMAG1351_zpsqaocomoi.jpg


This is a perfect example of why my builds take so long, little machined bosses for the clutch cable mounting.

IMAG1350_zpsuv97swal.jpg


Then stripped it down for powder coating

IMAG1352_zpsou7dcbyv.jpg
 
Painted a few bits up first before refitting them. Rear shock, front caliper and rear pulley all needed a bit of attention.

I also gave the centre of the rear disc a polish (cos I'm sad like that).

IMAG1364_zpsfef93w9e.jpg


IMAG1366_zpsmmx02rej.jpg


Today I started off with the intention of stripping and painting the engine. It was a bit of an unknown, so I thought it would be a good idea to give it an internal inspection...

I got it stripped down and masked up only to find the paint I was planning to use wouldn't spray properly... So the plan to have the engine black has changed... it's staying silver and black.

Anyway, mechanically it all checked out, no measurable wear on anything. I took the opportunity to drill and tap the holes in the head for the breathers as well. The Buell normally uses breathers in the rocker box covers, which I'll block off.

So I put it all back together.

IMAG1367_zps463pd480.jpg


IMAG1368_zps8dt1wh2a.jpg


IMAG1369_zpsrqm8bthq.jpg
 
IMAG1370_zpsjqp4vfmn.jpg


IMAG1371_zpsdhwodlve.jpg


IMAG1372_zpskywxkxwk.jpg


IMAG1373_zpshstl5dfq.jpg


IMAG1374_zpsqlp1pjcv.jpg


Got the engine off the bench and back into the frame. Got it all bolted in, then thought I'd better sort the clutch mechanism out. Should have put it together before I put the primary cover on. Doh! Ended up having to undo most of the bolts again and jacking the engine up so I could get the cover off as the chain adjuster bolt wouldn't clear the frame. Solved that by cutting 1/2" off the length of the adjuster! Can now just about be removed and refitted with the engine bolted in the frame.

I also found out I need to get a primary cover gasket, the one in the gasket kit was the wrong shape.

I also sorted the rear brake hose out.

IMAG1379_zpsp6joaupb.jpg


IMAG1380_zpsh94c10io.jpg
 
First job was to machine up a few little bits. Blanking plugs for the old breathers in the heads and then some collars for the ends of the exhaust. I used an offcut of 1 1/2" SCH40 stainless pipe (which is actually 1 7/8" OD and 1 1/2" bore) and just bored it out to take the 1 3/4" OD tube for the exhaust. Then I welded that to 2 short stubs so I could put it back up in the lathe and machine the end up so I will seal on the gasket.

The result is something that looked like this

IMAG1381_zps4gpdgqdv.jpg


IMAG1382_zpsufwwsa1j.jpg


After that I spent a day cutting and tacking bends together to make something resembling an exhaust. The lowest section runs parallel to the frame and the intention is to make a 2-1 collector just under the footpeg and then a short 2 1/2" section with a turn out on the end. Probably work a bit of a baffle in there as well just to keep it somewhat sociable...

I was also mindful of loosing too much ground clearance, hence why the pipes sit offset to each other.

IMAG1384_zpsli9hrbhb.jpg


IMAG1385_zpsiihgqxi0.jpg


IMAG1386_zpsxgjqhakt.jpg
 
It took 2 full days to make the exhaust but I am really pleased with how it's turned out. I really ought to consider polishing it up now, but I really hate that job.

First job was fully weld the pipes, thankfully minimal distortion and filler wire needed. So worth getting all of the joints really tight. Refitted it all then set about making the collector from two 45deg bends. Chopped through and welded together. Then worked out where the end bend needed to be, flattened the end, marked round it and cut the end off the collector so it matched up. Once the end was cut off I could get inside to just fuse the 2 pieces together where it's impossible to weld them from the outside.

I made a sleeve from another offcut of 1 1/2" SCH40 pipe so that I didn't have to try and manhandle the whole exhaust on and off in one piece. That means I can have a clamped joint on the front pipe, which is pretty much hidden anyway.

So here's the end result. Just a support bracket to make for the rear of it and it can be polished.

IMAG1388_zps6nea5ofo.jpg


IMAG1389_zps6lc0hlr5.jpg


IMAG1390_zpsq5tb3rbp.jpg


IMAG1391_zps9nby6fui.jpg


IMAG1394_zpsjngzzey8.jpg
 
The wiring is done, and mechanically it's more or less finished. I've got a few small jobs done today - the sort that take ages.

Made the front brake line and the mount for the fluid reservoir and filled it up with fluid. Fitted the mirrors - no use for SVA, but they'll do for after. Made the push rod for the rear brake. Fitted the carb and air filter. Swapped the engine cover bolts out for stainless. Made all of the oil lines up. Fitted the rear brake switch and filled it with fluid. Mounted the speedo.

Just need to mount the idiot lights, and come up with a solution for a sidelight telltale for SVA. After that its just the tin work to finish off...

IMAG1486_zpsasliir3e.jpg


IMAG1487_zpstuygs2s7.jpg


IMAG1488_zpsggzie7ol.jpg


IMAG1491_zpslffwxbg4.jpg


IMAG1492_zpswncz5a83.jpg
 

noobie

Clueless in most things
Looks good

Two questions, given the reg rec is an issue on most bikes at some time and chops rarely have long guards on the front, what was the thinking behind mounting the reg/rec on the front so open and so low?

Secondly, is it possible to about face the adjuster from inside the rear triangle to outside and move the caliper inside the triangle for support and to keep it cleaner looking?

Its the standard mounting point for Harley type reg/recs. And they are super reliable...@tu*

Yes it would have been possible to fit the caliper inside the swing arm 'triangle' but it's too late now... 8rfl@
 

noobie

Clueless in most things
Given most will still confuse it with a Harley, had you thought of using a Buell front wheel with rim disc just to give it something a bit "ooo what's that?"
 

Cougar377

Express elevator to hell
Staff member
Moderator
Club Sponsor
If you're not banned from this forum by the end of the week, I'll eat my swinging arm....h1d1ng2

There's WAY too much bike related stuff in your posts....:-0)
 
Given most will still confuse it with a Harley, had you thought of using a Buell front wheel with rim disc just to give it something a bit "ooo what's that?"

The front one is actually off a 'bird.... @tu* but I like your thinking!

The Buell ones are always an option, and would fit right into the dyna forks easily. Something simple to change in the future.
 

noobie

Clueless in most things
I've never built a bitza, I see you mention the sva, how do they decide the year to register it at given the many different parts? What year would they register this bike as?
 
Top